Saving the recovered data
Saving data to a local storage
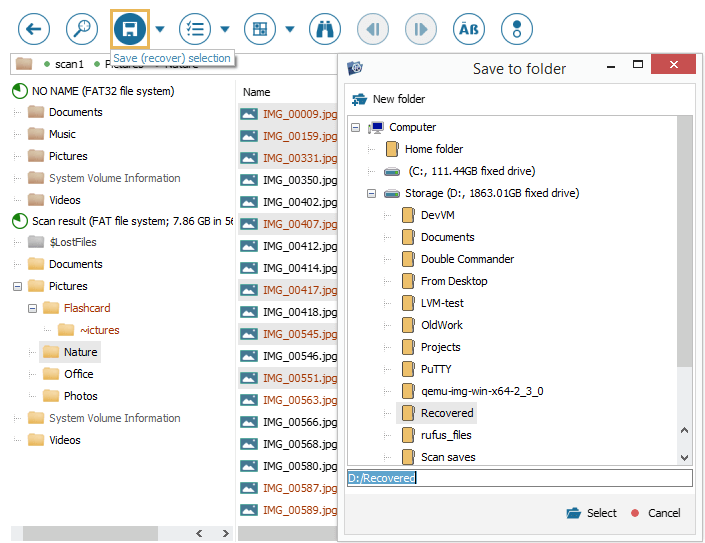
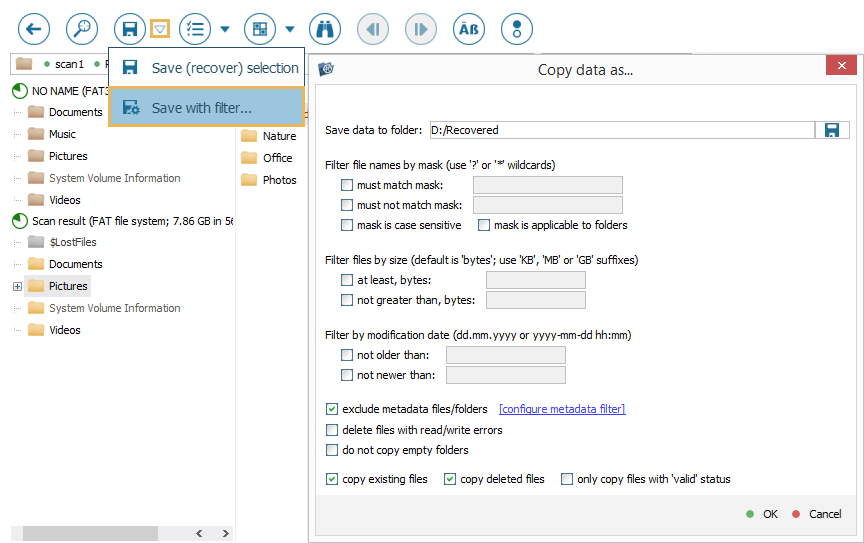
When all the required recovered items are selected in Explorer, you can start their copying to another storage using the "Save (recover) selection" tool from its main toolbar.
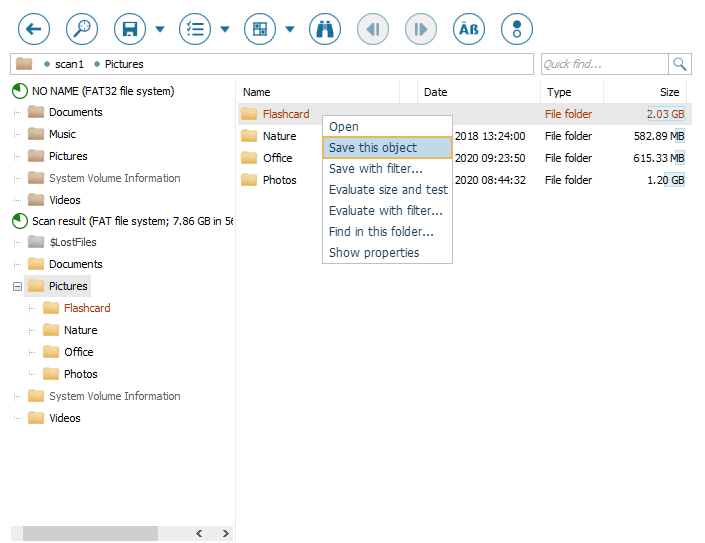
A single file/folder can be also be saved using the "Save this object" option from its context menu.
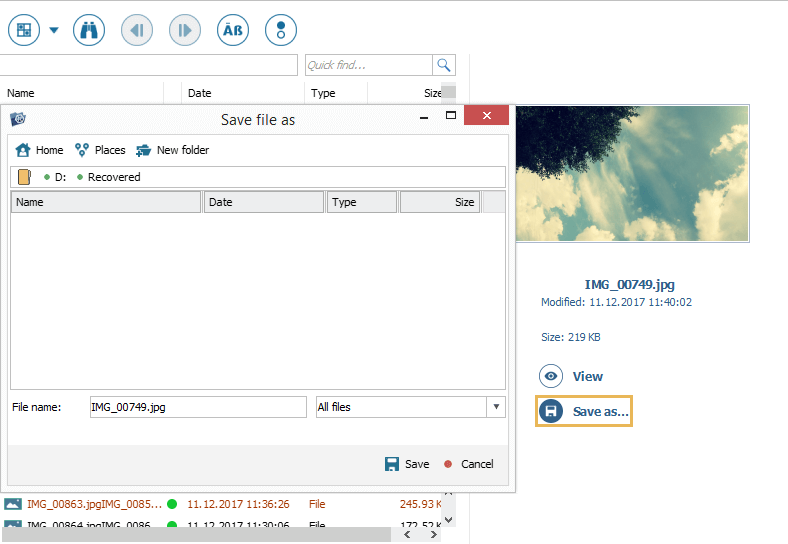
Another way to save a single file is to select it and press the "Save as…" button under its thumbnail preview.
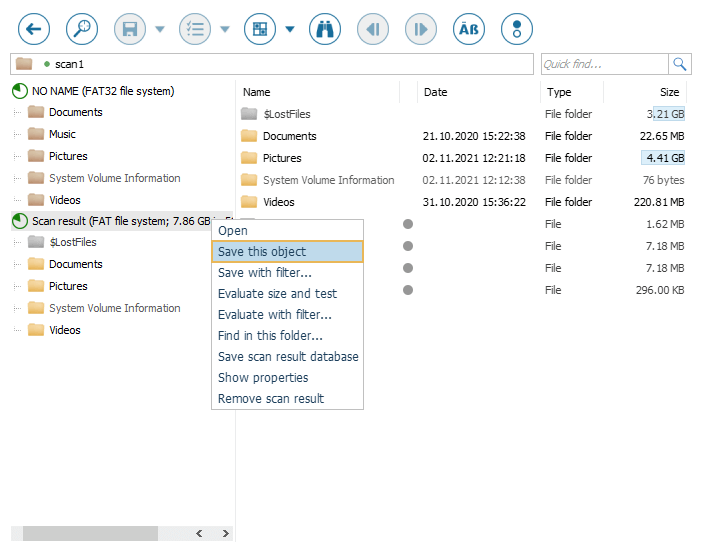
If you need to save the entire file system or scan result item, select it in the folders navigation tree and choose the "Save this object" option in its context menu.
Using Explorer, you can also define a mask for saving files or folders. For this, choose the "Save with filter…" option of the "Save (recover) selection" tool from the main toolbar of Explorer or in the context menu of each object. More information about the available filters is provided in the Explorer (File browser) section.
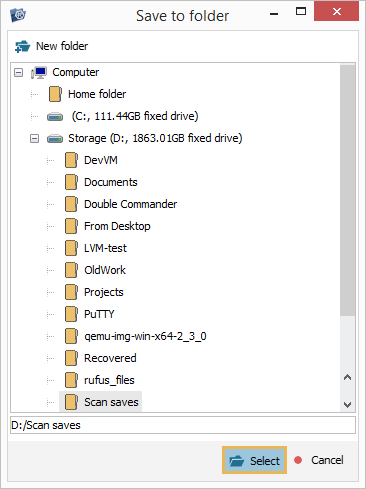
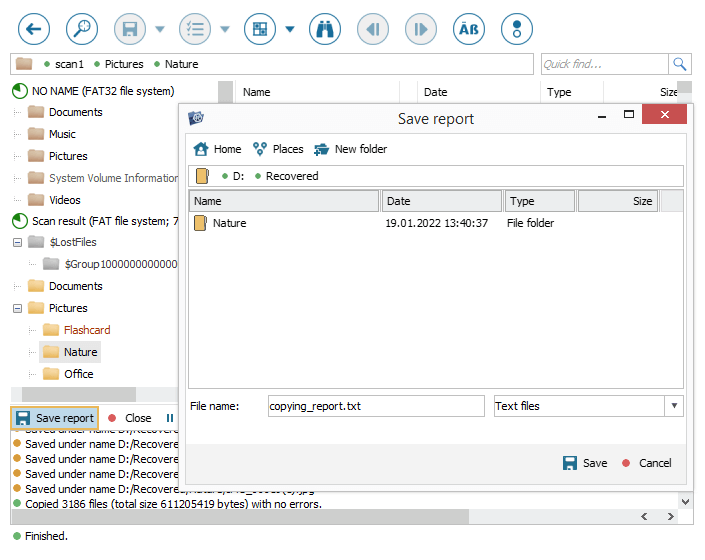
Having chosen the preferred method of saving the data, provide the target folder for copying in the opened dialog. Please note that this folder can be located on any storage device attached to the local computer and accessible by the current operating system, except the one from which the information is being recovered. Also, ensure that the target storage has enough free space to place this data. After that, press the "Select" button.
This will initiate copying to the selected storage, and the state of the operation will be reflected in the pane at the bottom of the Explorer window. The details include the path to a file being copied, the time when copying was started, its progress and the amount of remained data.
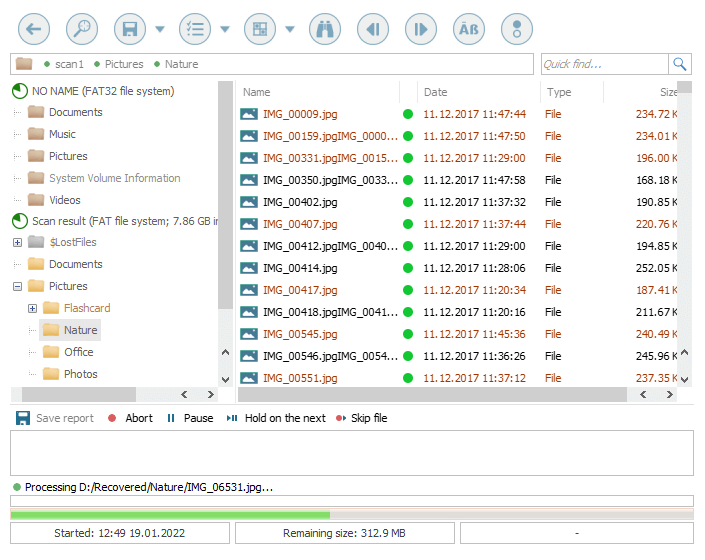
You can control the process using the following buttons at the top of the pane:


After copying of the selected data is completed, the status in the pane will switch to "Finished", and the information about the number of copied files and their total size will be displayed.
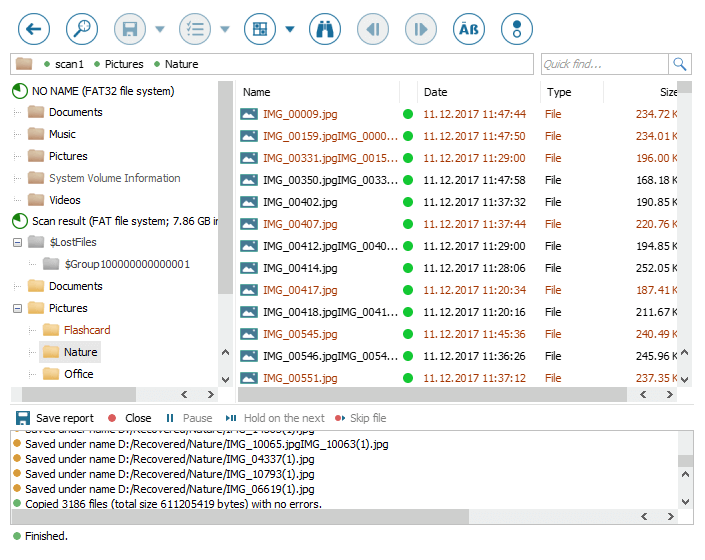
You can save this information together with the copying log to a text file by using the "Save report" element.
Saving data to a network location
Network storages do not appear among the target devices in the "Save" dialog of UFS Explorer, since they are not attached directly to the computer and get accessed via network data transmission protocols. In order to use them for saving the data, you need to perform a set of additional preparation steps, depending on the operating system you use for data recovery:
For Windows
There are two ways of preparing a folder on a network storage for copying the data: mapping its location in the operating system, which will create a shortcut for it in File Explorer, and usage of its direct path.
1) Mapping the network location
-
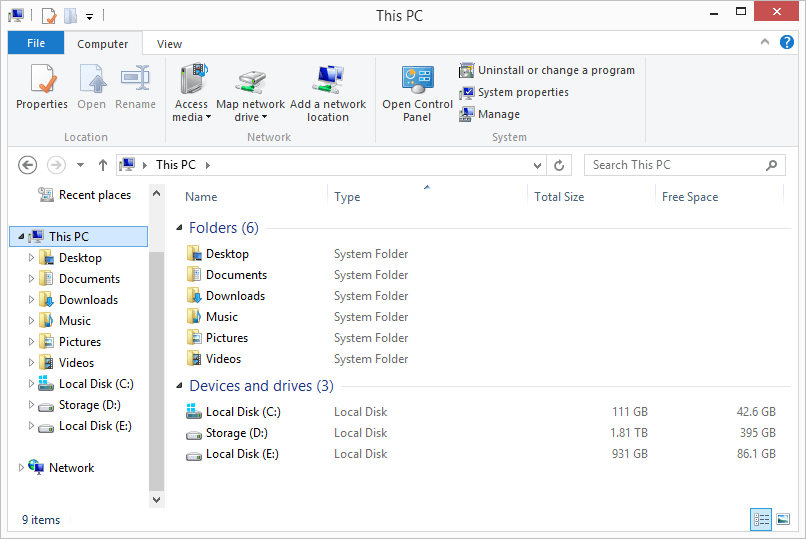
In the OS, launch File Explorer and go to "This PC".
-
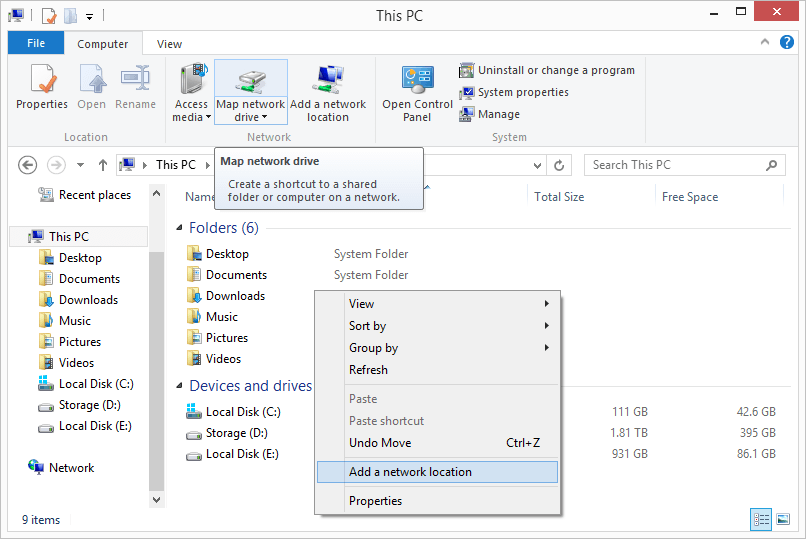
Open its context menu with the right-click of a mouse and select the "Map network drive" option.
-
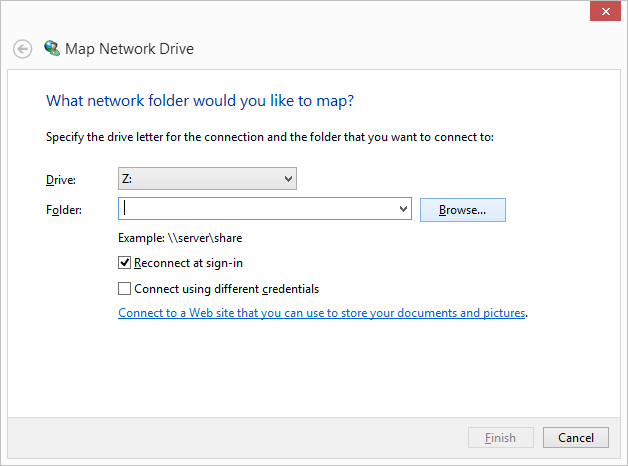
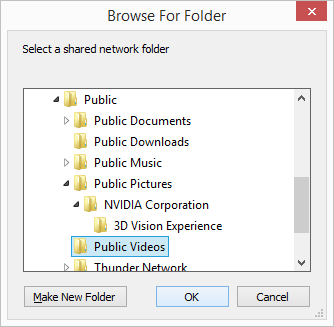
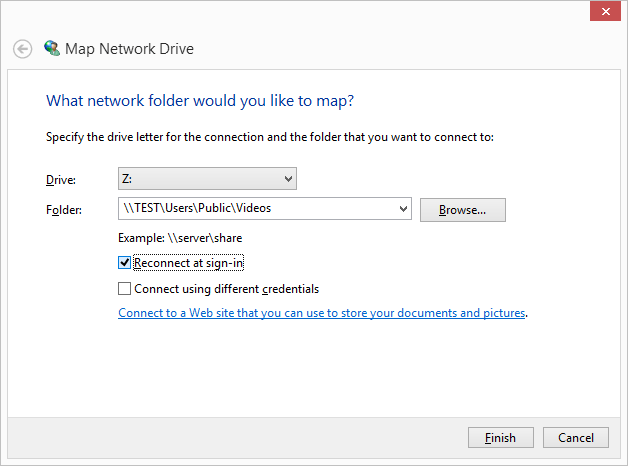
Pick out the drive letter you want to use for it and press the "Browse" button to navigate to the network folder you are going to map.
-
In the opened dialog, browse to its location and hit "OK".
-
Put a checkmark next to the "Reconnect at sign-in" option.
-
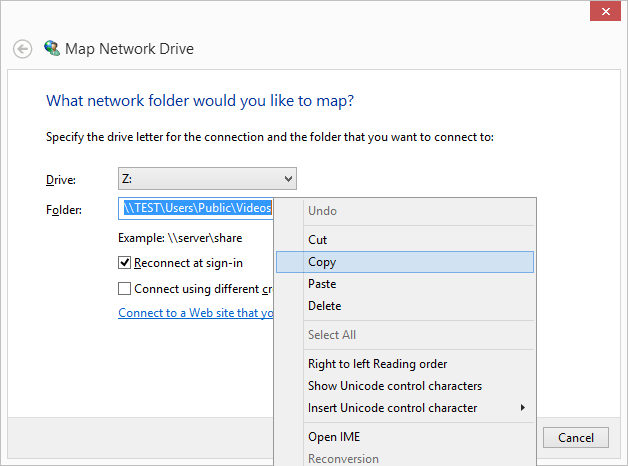
Copy the drive’s path from the address bar and click "Finish".
-
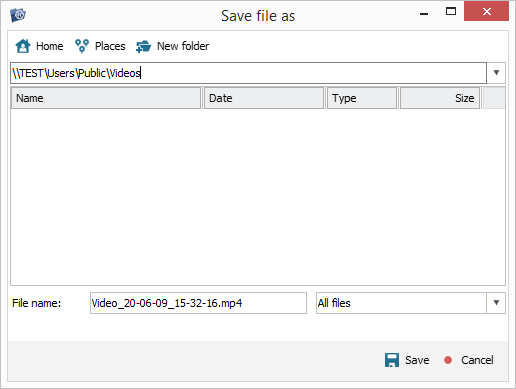
In UFS Explorer, instert the copied path into the address bar of the "Save" dialog hit "Save" button.
2) Usage of a direct path
-
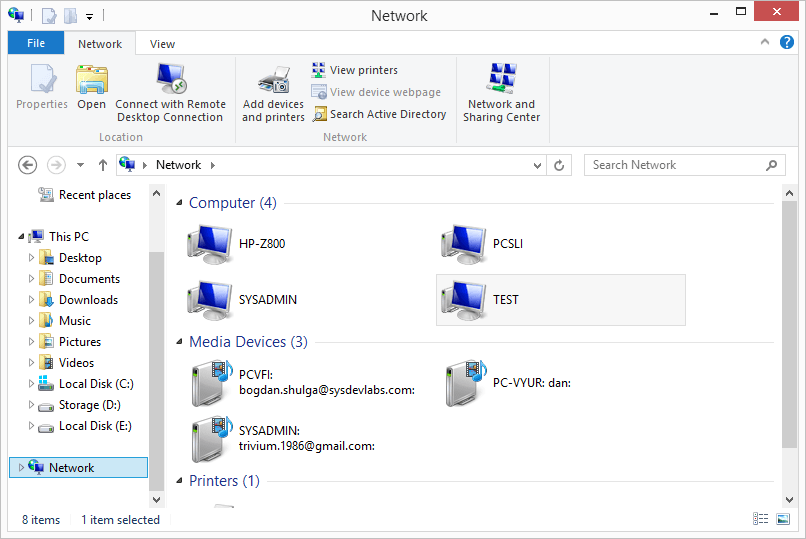
In the operating system, launch File Explorer, go to "Network locations" and browse to your network folder.
-
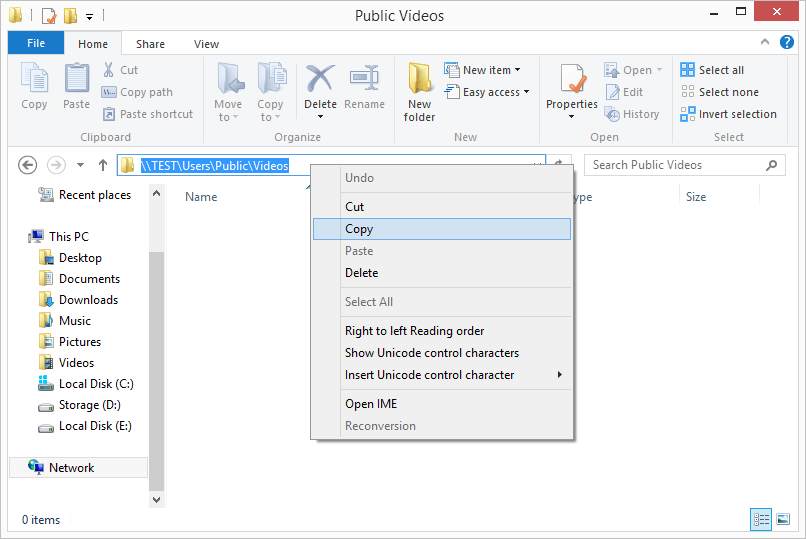
Copy its path from the address bar of File Explorer.
-
In UFS Explorer, paste the copied path in the address bar of the "Save" dialog and press the "Save" button.
For macOS
In macOS, you will need to connect to your network location using Finder:
-
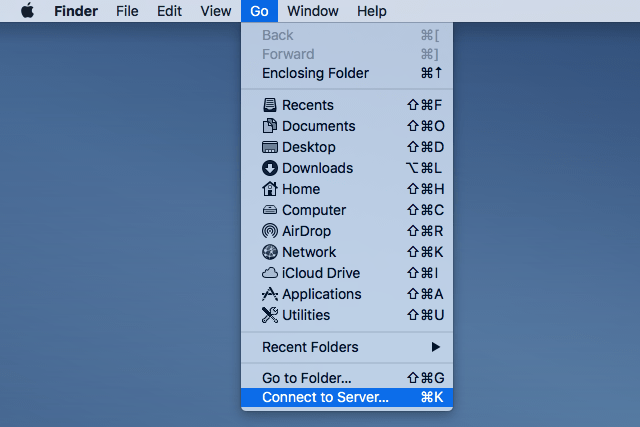
In Finder, launch the "Go" menu and choose the "Connect to Server" option, or simply use the Command+K combination of keys.
-
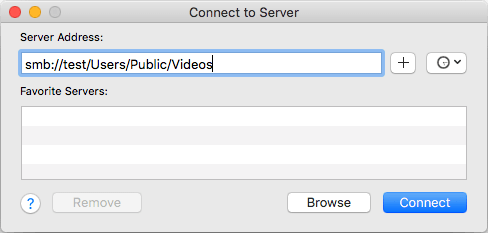
In the opened dialog, type in the path of the shared folder. Usually, it is smb://server_name/share_name. Alternatively, navigate to "Network", then "Servers" and choose the location. After that, hit the "Connect" button.
-
If prompted, enter your username and password.
-
In the "Save" dialog of UFS Explorer, hit the "Places" button and choose the name of the attached file system. If it is not in the list, click "File system", then "Volumes", then either the name of the attached file system or your username and then the name of the attached file system.

-
After the file system is opened, select a folder on it for saving your data.

For Linux
Linux provides many methods of accessing network shared folders, depending on the system configuration. However, the most widely-used one is mounting the folder in the Terminal using the CIFS-utils package:
-
Open the Terminal.
-
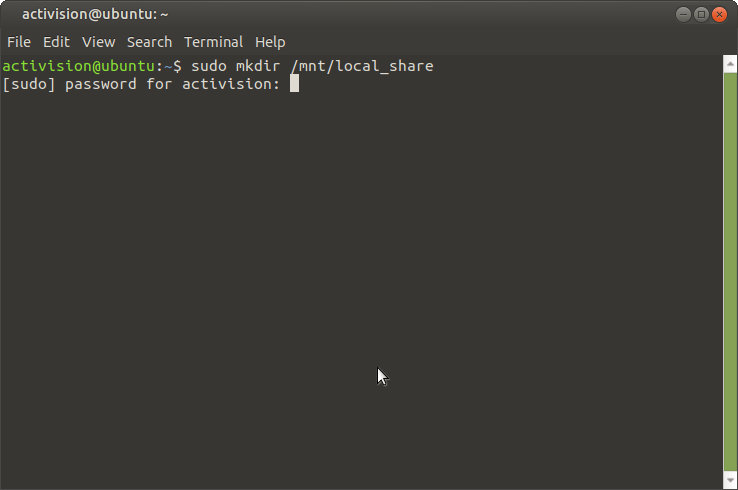
Create a mount point folder or use a standard "/mnt" folder. For instance, "sudo mkdir /mnt/share".
-
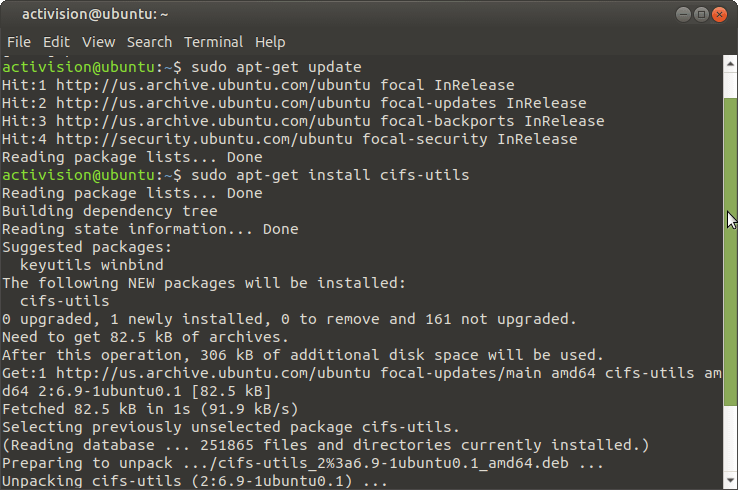
Install the cifs-utils utility, if it is not installed in your system.
-
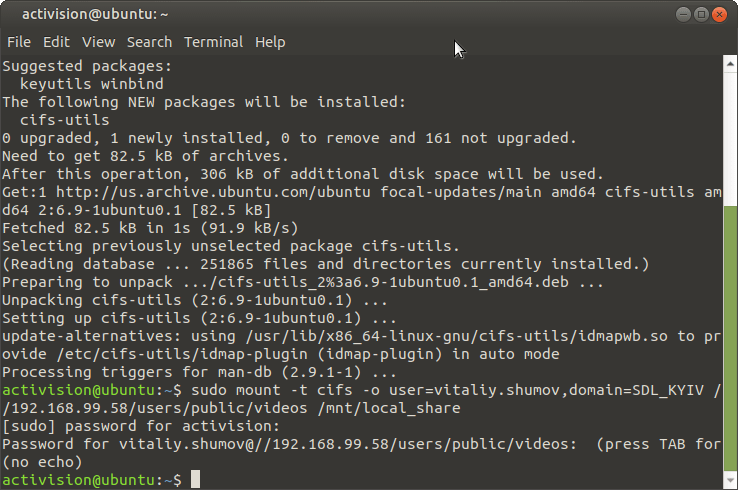
Type the "mount.cifs //server_name/share_name /mnt -o rw" command in order to mount the shared folder "share_name" of the server "server_name" to the location "/mnt" in a read-write mode. You may also define the username and the domain (workgroup) within the arguments of this command (e.g. mount.cifs //server_name/share_name /mnt -o rw,username=jonny,domain=domain_name)/.
-
In the "Save" dialog of UFS Explorer, browse to the location of the mount point (e.g. Places->File system->mnt) and choose the target location to save your data.

Upon completion of the above-described steps, UFS Explorer will start saving the recovered data to the specified network location.