Opening and choice of a storage
Opening a storage
In order to enable any data recovery operations on a storage in UFS Explorer, it has to be opened in the interface of the program. The methods you may use to mount it vary depending on the type of storage in question. Yet, please note that any object in the storages navigation pane is just a virtual representation of the real storage that will be processed in a safe-read only mode.
Physical storage device
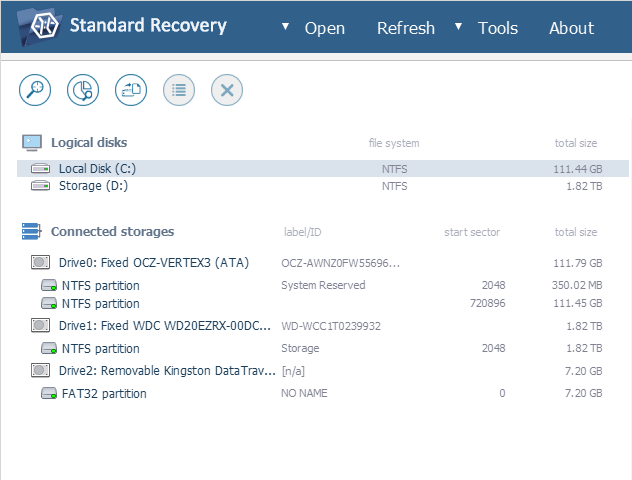
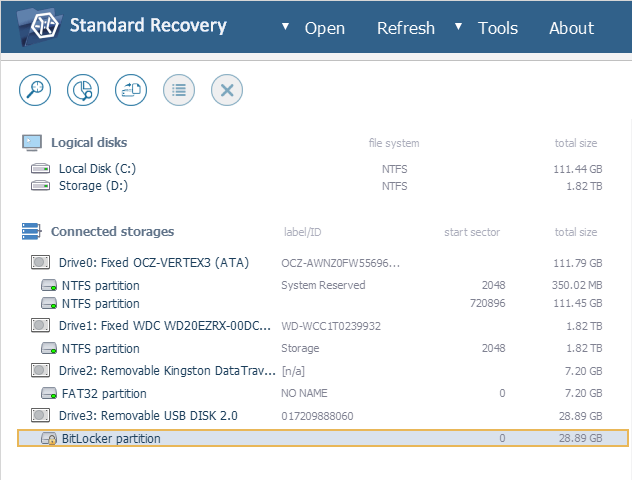
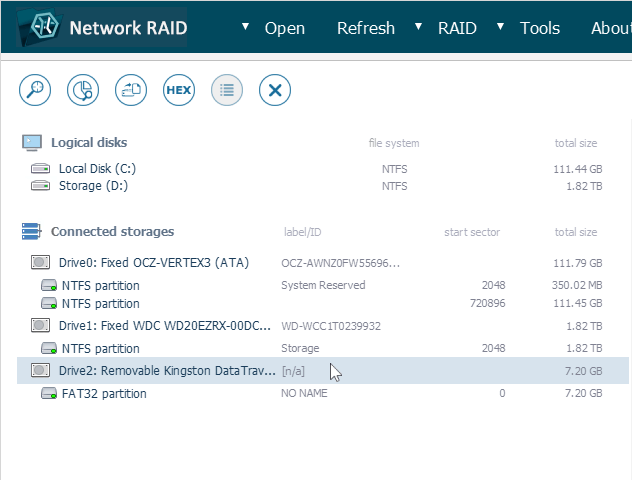
By default, the storages navigation pane contains all the detected physical storage devices connected to the local computer, provided that the software is launched with administrative privileges. The pane is refreshed automatically after the (re)start of the application. It can also be updated by request using the "Refresh" item in the main menu.
Yet, if, for some reason, the physical storage device is not available in the list or you need to define advanced parameters related to its access, you may use the "Open storage device" dialog to load it into the program.
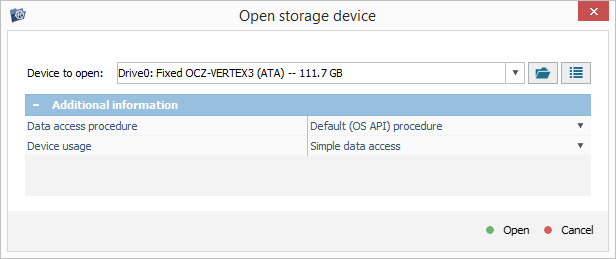
This element can be invoked using the "Named device" option from the "Open" item in the main menu. For more detailed instructions, please refer to the Open storage device dialog section.
Virtual storage
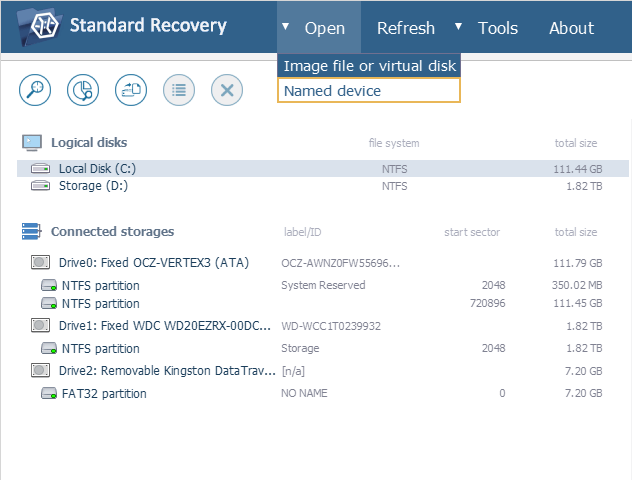
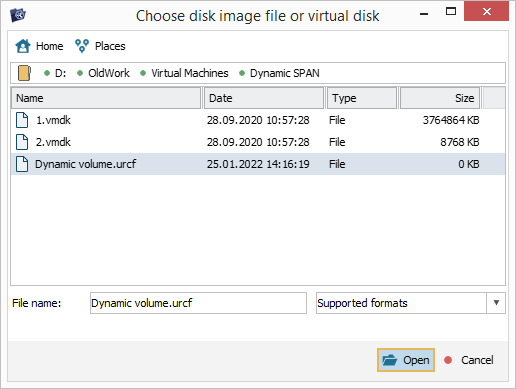
Unlike "real" drives that immediately appear in the storages navigation pane, disk images and virtual disks of supported formats have to be opened using the "Open" item in the main menu in order to be shown in the software. Choose the "Image file or virtual disk" option, navigate to the file which corresponds to your virtual storage, select it and press the "Open" button.

Logical volume
The partitions found on the opened physical drive, disk image/virtual disk or reconstructed complex storage are detected automatically by the program and get listed under the corresponding element in the storages navigation pane.

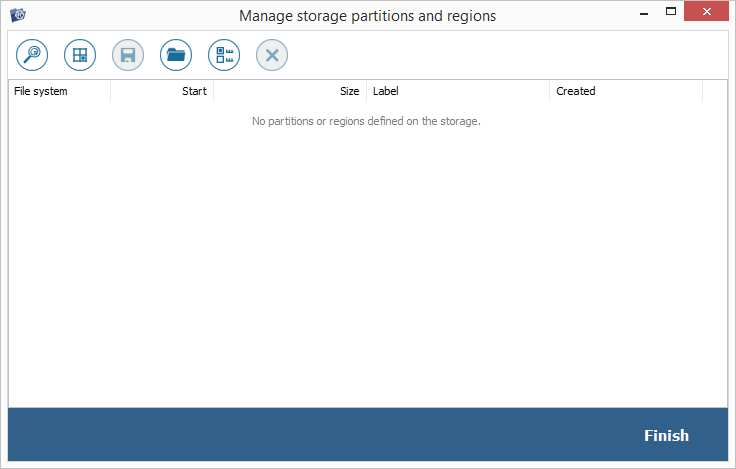
However, if the necessary partition wasn’t located because of a certain issue or its type is unknown, you may employ the Partition Manager element to carry out a more profound search.
An encrypted volume has to be decrypted first using the embedded mechanisms of UFS Explorer to enable further operations.
Complex storage *Only RAID Recovery, Network RAID
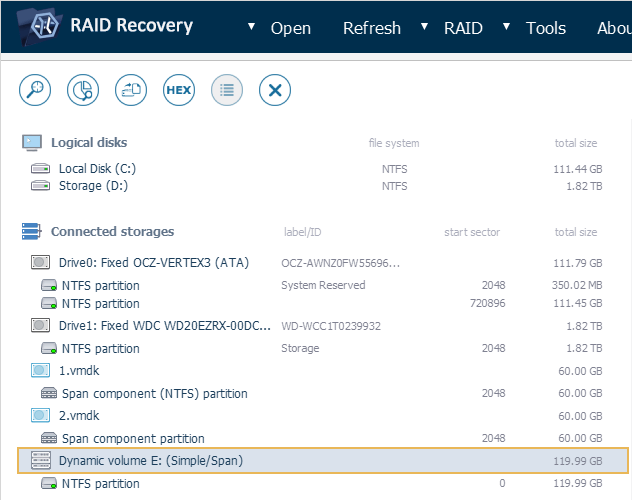
The assembled complex storages may immediately appear in the storages navigation pane, provided that their auto-reconstruction is supported and can be performed with the help of the available metadata. If not, the storage has to be built manually using the RAID Builder component.
Saved RAID configuration*Only RAID Recovery, Network RAID
A*.urcf file that was previously created and saved in RAID Builder can be loaded into UFS Explorer using the "Image file or virtual disk" option from the "Open" item in the main menu.
Runtime Software Virtual Image file*Only RAID Recovery, Network RAID
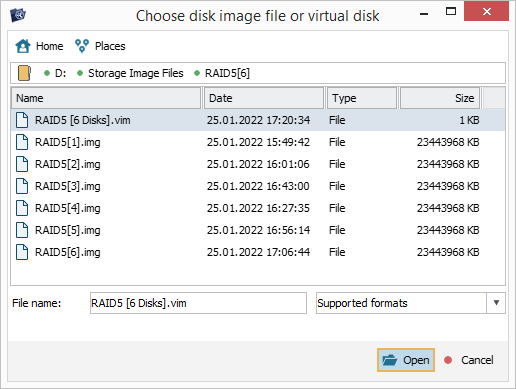
A Runtime Software Virtual Image file of the *.vim format should also be opened in UFS Explorer using the "Image file or virtual disk" option from the "Open" item in the main menu.
Network device on a remote computer *Only Network RAID
The storages connected to a remote computer can be opened via LAN using the "Network device via Agent" subitem of the "Open" menu in UFS Explorer Network RAID running on the host PC.
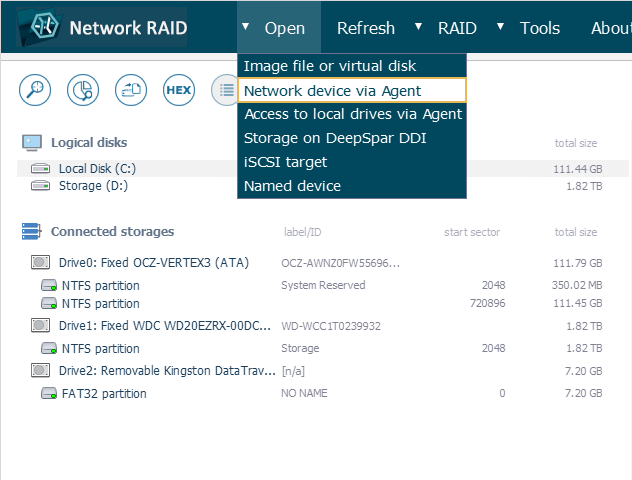
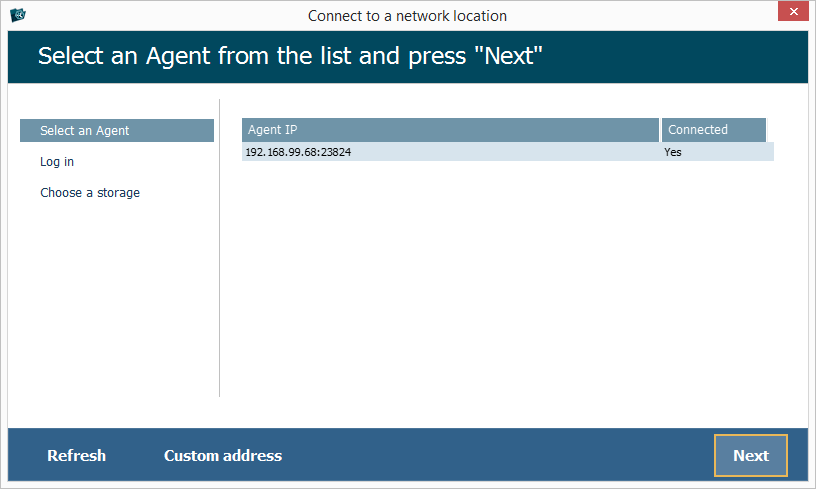
However, before the mounting operation can be performed, access to that remote computer has to be enabled with the help of the Network Agent. More information about the usage of the Network Agent component is provided in the respective section.
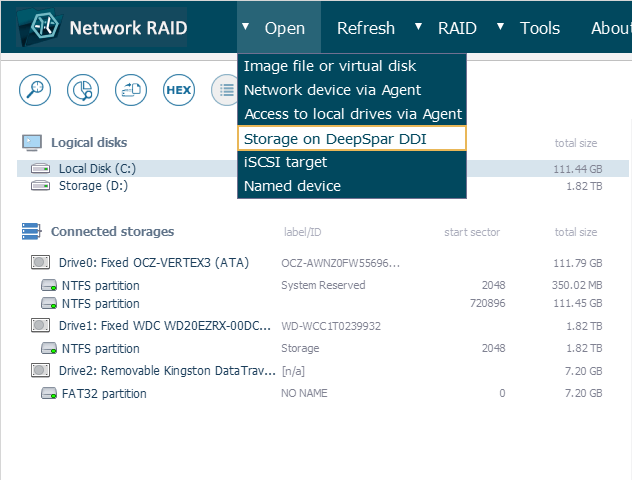
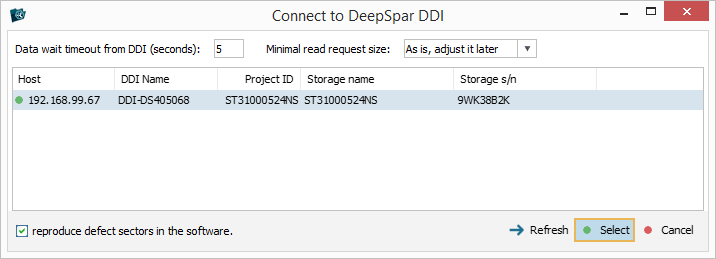
Storage on DeepSpar Disk Imager *Only Network RAID
The drives attached to a DeepSpar Disk Imager device can be accessed in the software using the "Storage on DeepSpar DDI" option from the "Open" item in the main menu. This function also allows specifying the timeout for waiting the data from DDI and the minimal requested block size.
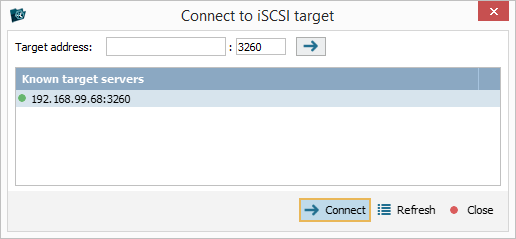
iSCSI Target *Only Network RAID
You can connect to a functioning iSCSI server on your network using the "iSCSI Target" option from the "Open" item in the main menu. In the opened dialog, provide the target IP address and port. After that, the required target device can be selected and opened in UFS Explorer Network RAID in the "read only" mode.

Selection of a storage
Any storage opened in the interface of UFS Explorer can be selected in the storages navigation pane with a single click of a mouse or the arrow keys on the keyboard.
All the peculiarities related to the choice of a particular storage and description of icons that represent their types can be found in the Storages navigation pane section.