Saving a scan status database
Saving the scan result information to a file
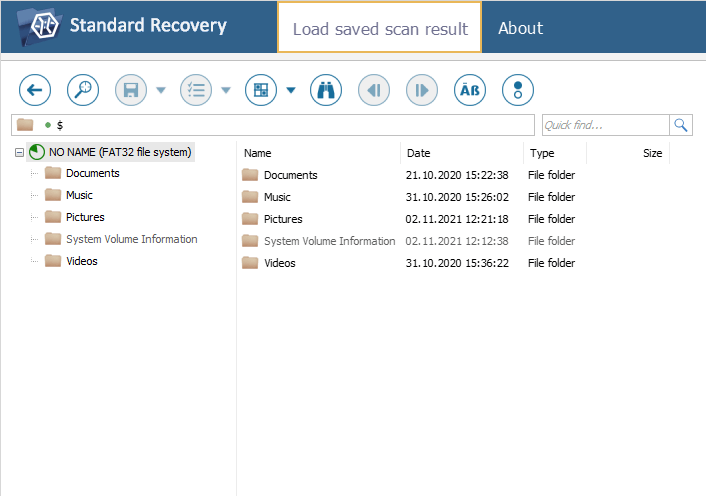
After the software completes a scan, it presents the restored folders and files in Explorer for their further copying to a safe location. However, when the copying process cannot be started immediately, for example, due to the lack of a capacious storage, or it is necessary to restart the application, you may avoid the loss of the unsaved recovered information by saving the scan result as a separate file and applying it later to the processed storage. Please note that such a file itself doesn't include the data content, only the information about the structures on the scanned storage.
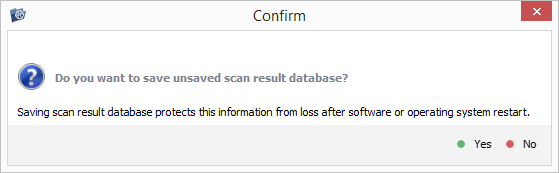
Following the scan, UFS Explorer will show a pop-up message offering you to save the scan result database to protect this information from loss. Click "Yes" to go ahead.
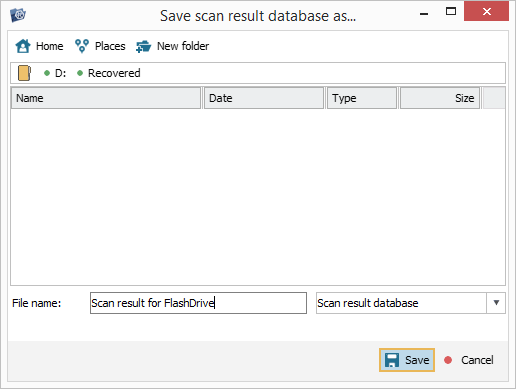
In the opened window, enter the name for the *.vfs file and navigate to its target location that must differ from the storage the data is being recovered from. Hit "Save" to create the file.
If you've pressed "No" after the scanning operation but decided to save this information later, you may perform the following steps:
-
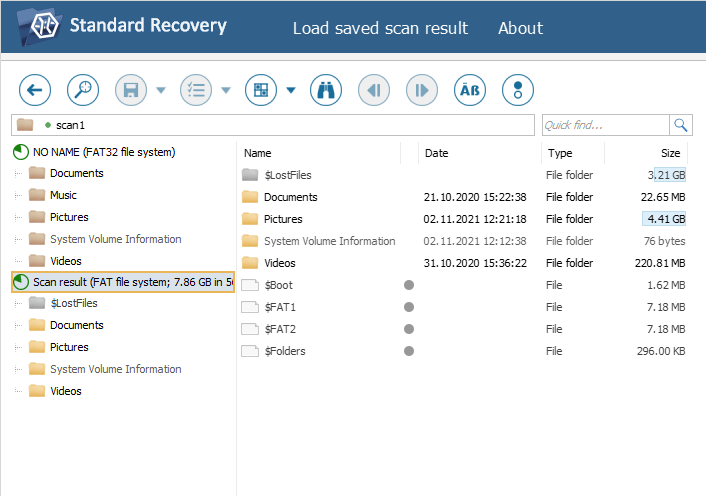
Select the respective Scan result item in Explorer.
-
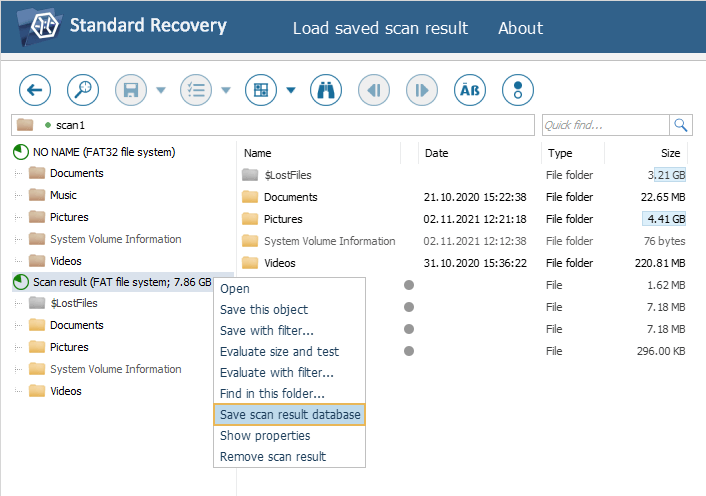
Open its context menu and choose the "Save scan result database" option.
-
Specify the name for the *.vfs file, choose the folder for it that is not found on the scanned storage and hit the "Save" button.
Loading the created scan result file to UFS Explorer
There are several methods you can use to load the previously created *.vfs file with the scan information into UFS Explorer. However, both of them require that the scanned storage device be attached to the computer.
Using the storages navigation pane
-
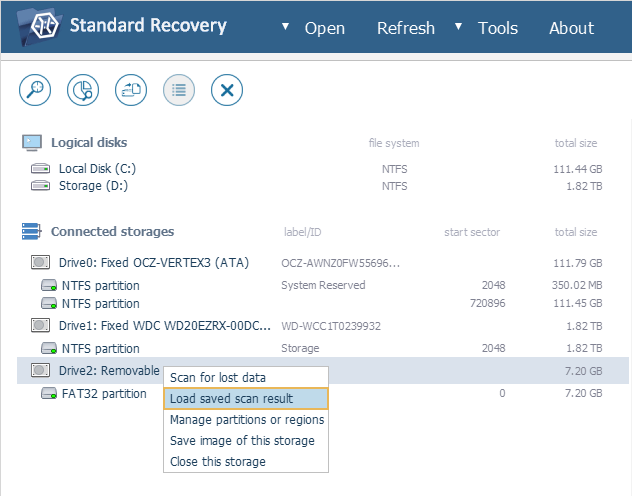
Select the required drive or a partition in the storages navigation pane.
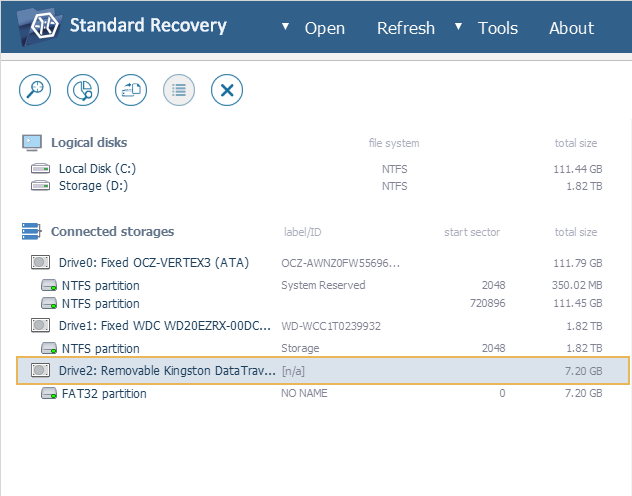
-
Open its context menu and choose the "Load saved scan result" option.
-
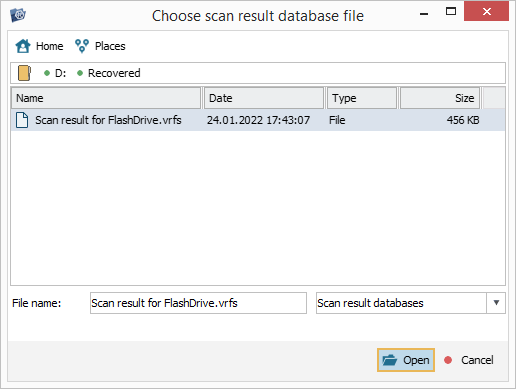
Navigate to the created *.vfs file and click "Open" to start working with the retrieved content.
Using Explorer
-
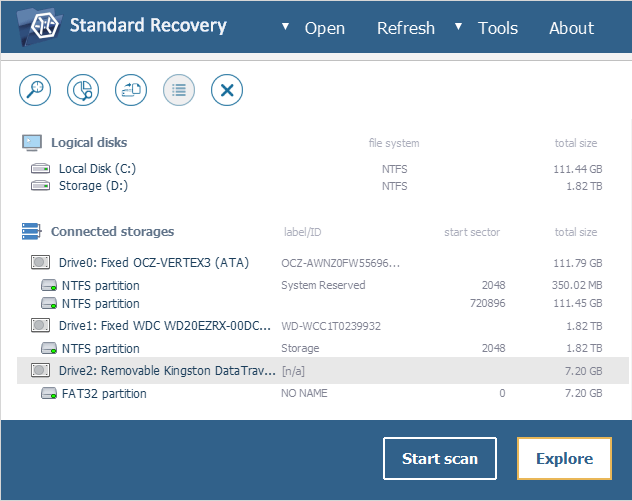
Launch Explorer with a double click on the partition of the connected storage device you've scanned, or select it and press the "Explore" button.
-
Press the "Load saved scan result" button from the menu at the top of the Explorer window.
-
Go to the *.vfs file that was created before and click "Open" to load it into the software.