What can I do to recover deleted files from Windows?
Every Windows user knows that deleted files and folders can normally be retrieved from the Recycle Bin. However, this handy feature won’t help when an item has been removed using a more advanced method of deletion – like the Shift+Delete keys combination or a Windows prompt command. Also, files deleted from a portable digital medium usually bypass this container, let alone that the bin itself may get emptied afterwards. Fortunately, owing to the peculiarities of this OS, in most cases files remain recoverable by means of other options.
Specifics of recovery of deleted files from Windows
As a matter of fact, Windows simply marks the sectors occupied by a deleted file as free and ready to be filled with new data, while its content remains on the storage device. Therefore, restoring a deleted file is possible, but only until new data is written over it.
In this context, it should be also mentioned that the success of the undeletion procedure and its results depend significantly on the file system employed on the storage. The FAT32/exFAT file systems used on external drives wipe the information about the location of the file clusters but preserve its name, size and start position. NTFS, which is commonly applied on internal drives, keeps a record for a file with all allocation information. And the newest file system of Microsoft, ReFS, in its turn, performs all updates using the copy-on-write feature, which means it never overwrites the live data without previously creating its copy within unused blocks. Data recovery programs use special techniques that allow them to find this information, interpret it and use it to restore deleted files.
Note: The mechanisms employed by FAT32/exFAT, NTFS and ReFS to store data are described in more detail in the basics of file systems.
Nevertheless, there are several situations when your efforts to undelete files from Windows may not bring any results:
- the files were deleted a long time ago and the storage device has been actively used since then;
- the files were destroyed with the help of a dedicated shredding or erasing software;
- the drive storing the files was encrypted, and the user lost both the password and the recovery key or the area on the storage containing critical encryption metadata was severely damaged, making it impossible to unlock the drive even with the correct password or recovery key.
How to recover deleted files in Windows
In other cases, there are fair chances to restore deleted files with one of the following methods.
Use the Previous Versions feature built into Windows
In Windows 7 and later, the Previous Versions feature is available as a part of the System Restore functionality. The system automatically creates a Restore point every time a notable change like software installation is made. Such a point may include copies of files and folders you’ve recently deleted.
If you know the exact location where the item in question was stored, right-click this directory and select the "Restore previous version" option. On condition that this feature was enabled and a Restore point has been created by the moment you look for it, the opened window will include the list of available previous versions with their associated dates. You can select the needed one and click "Restore" to get the deleted file back.
Undelete files using a data recovery program
In case the above-given method fails, files can still be retrieved from the file systems of Windows with the help of a dedicated data recovery program.
As it has already been mentioned, Windows currently employs several file systems – FAT32/exFAT and NTFS which are normally used on hard disk drives, USB sticks, memory cards of photo/video cameras, smartphones and other devices formatted in this OS. In addition, the Microsoft's next generation ReFS file system works on some computers running Windows 10 and Windows Server starting from 2012.
SysDev Laboratories recommends UFS Explorer Standard Recovery as effective software able to recover deleted files from FAT32/exFAT, NTFS and ReFS, along with many other file systems. Yet, please note that when it comes to deduplucated Windows volumes, a more advanced tool – UFS Explorer Professional Recovery is required.
Warning: Recovery of deleted files is possible as long as they are not overwritten with some other information. For this reason, it is highly recommended to stop all operations with the storage from which the data has been deleted and immediately start recovering files.
-
Download and install UFS Explorer Standard Recovery. Don't use a storage (partition) which keeps the deleted files to avoid their overwriting. Ensure that the downloaded version of the software is in line with the operating system platform it will be run on.
Hint: If you have any difficulties with the installation of the utility, please refer to the installation manual for UFS Explorer Standard Recovery.
-
Attach the storage device which holds the deleted data you need to retrieve. If the files were stored in a non-system partition, the data recovery procedure can be performed on the same PC. However, if the data was lost from the system partition (usually drive C:), it is strongly recommended to extract the hard drive from this PC and connect it to another computer as a secondary device.
Hint: Please rely on the instructions if you need to attach your hard disk drive to the motherboard or сonnect the HDD externally using a USB to SATA adapter.
-
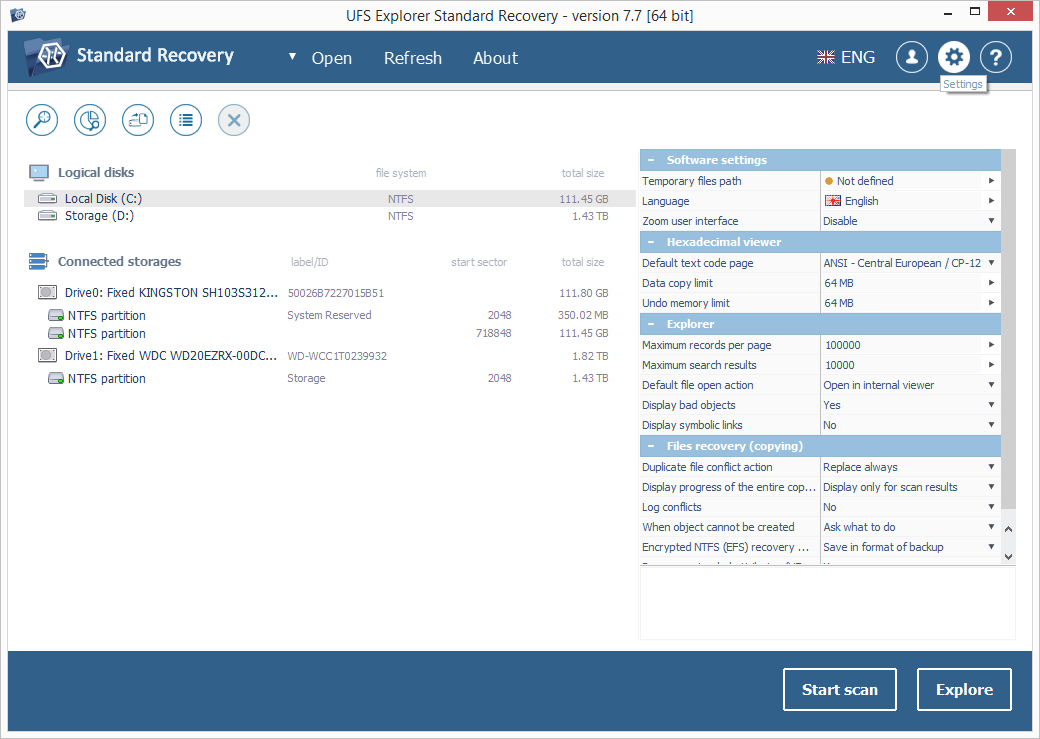
Launch the program. If necessary, modify the software settings in the settings pane.
-
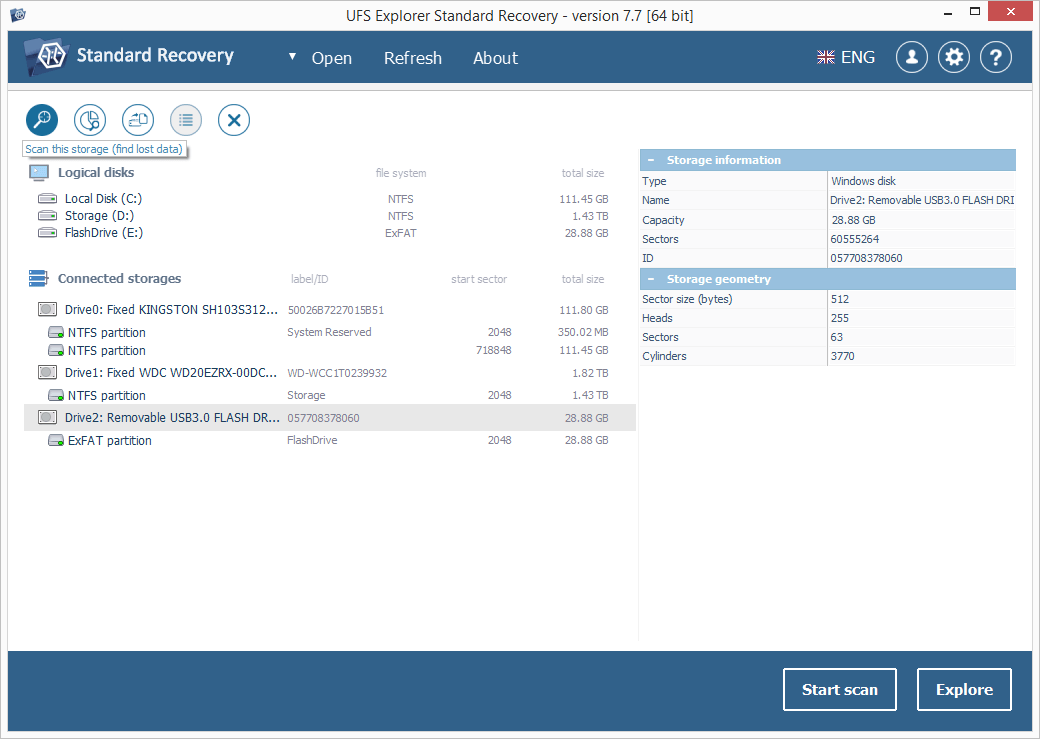
UFS Explorer Standard Recovery automatically detects partitions available on a device and displays them in the left pane of the main window. Choose the needed storage from the list based on its size, file system type or content. After that, scan it for lost data using the corresponding storage context menu option, the "Start scan" button or the "Scan this storage" tool from the toolbar.
-
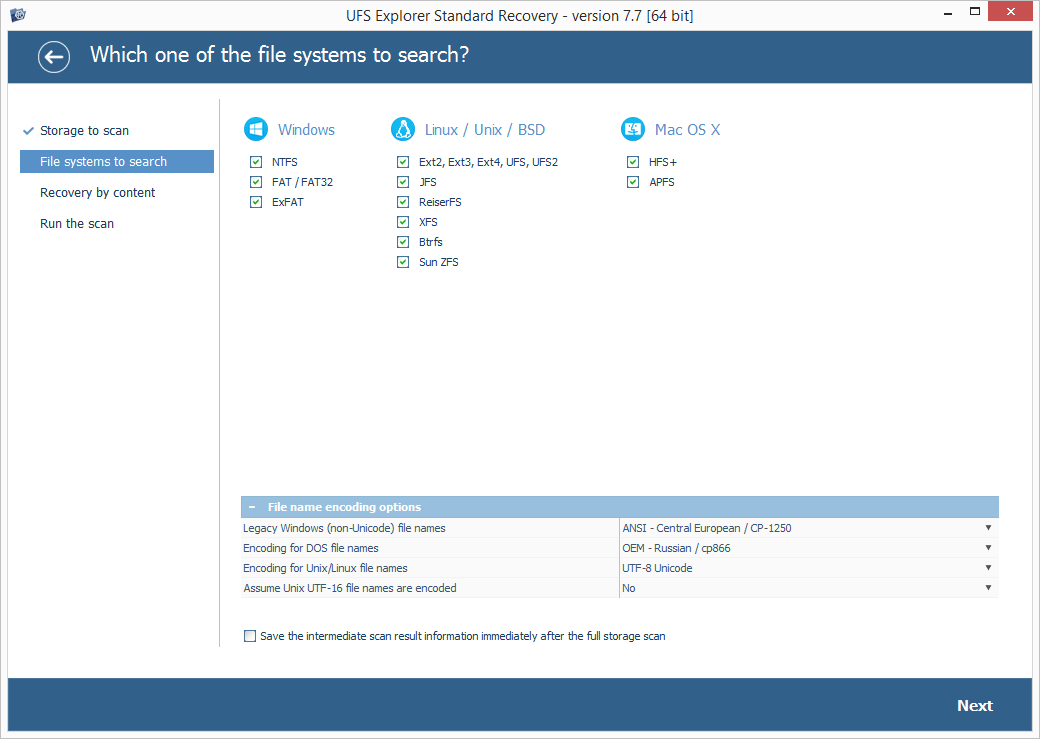
Set up the needed scan parameters. If you want the process to be completed faster, you may deselect all file systems except the ones related to Windows and disable IntelliRAW. After that, press "Start scan" and wait for the results of recovery.
Hint: More information about configuring the scan can be found in the instruction on scanning a drive with UFS Explorer.
-
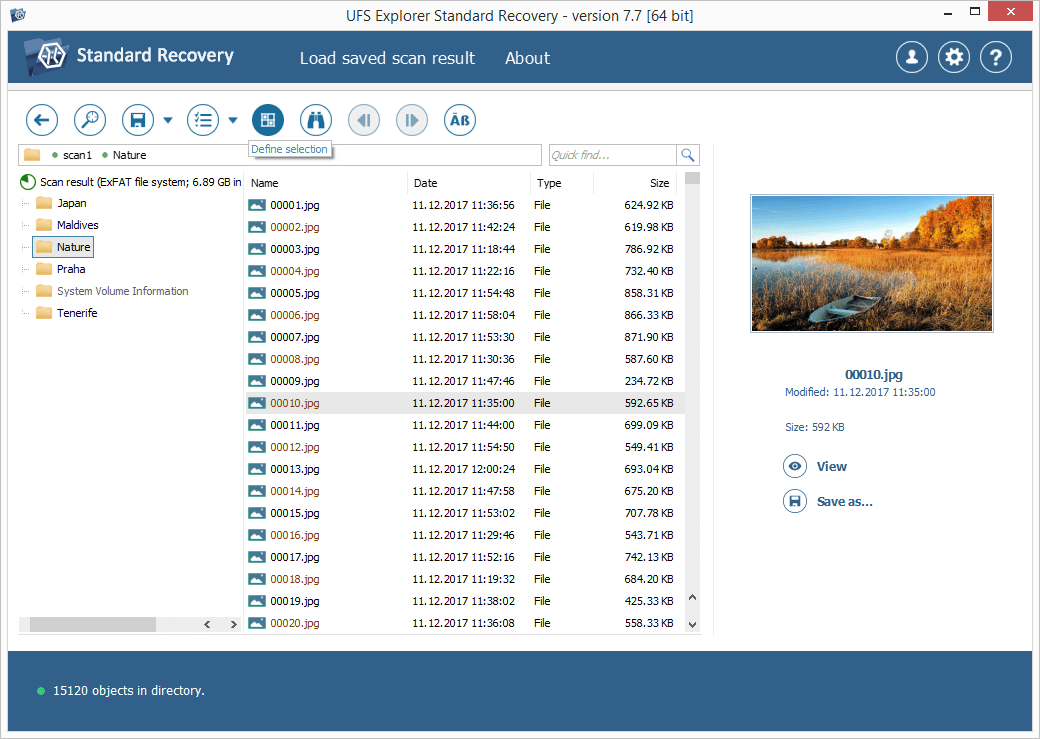
Browse the found files and folders:it is possible to sort them by name, date, and type. Additionally, you can use the quick and advanced search options or preview files in the internal viewer.
Hint: In case you need more information on how to work with the detected files and folders, please refer to the detailed instructions in the article Evaluation and saving the results of data recovery.
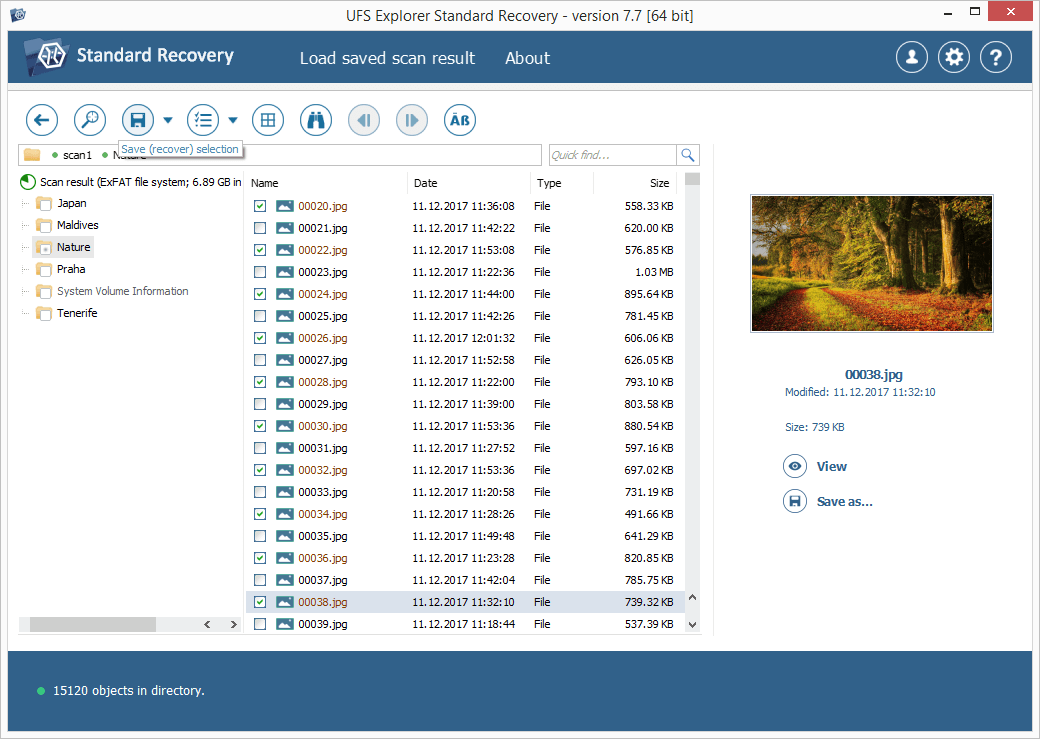
Press the "Define selection" button and put checkmarks next to the ones you want to recover.
-
Save the selected files to a storage other than the disk from which the deleted data is being recovered. Please mind that doing otherwise may result in the overwriting of data currently stored on the affected drive, leaving no chance to restore them.
Hint: If you are going to save the recovered data to a network storage, please check the provided guide.
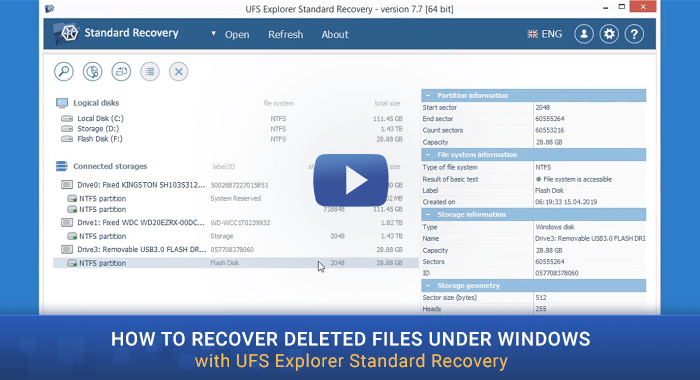
To see the whole process step by step, you can watch this short video guide:
Note: If the data was lost from the system partition and there is no possibility to extract the disk and attach it to another PC, you can boot the computer using UFS Explorer Backup and Emergency Recovery CD for safe data recovery. For more details, please, refer to Data recovery from a system partition.
Last update: June 11, 2024