How can I open data from an inaccessible external drive?
Modern portable storage devices range from tiny memory cards and USB sticks to pocket-sized external hard disk drives and more capacious NAS/DAS solutions no larger than the size of a shoebox. All of them offer a fast, cheap and incredibly convenient way to share data between different systems. Still, like with any technology, their use may present certain challenges. Among the most frequent ones are compatibility issues that result in the loss of access to important files.
Many users, especially ones who have dual-boot desktops or laptops, run into a common scenario: faced with the need to transfer some information from one machine to another, they take the drive out of the device, attach it to another PC and find out that despite being able to detect the storage, this computer can’t read the files on it. This problem often arises when data is shared between different environments. The thing is that each OS family has its own set of supported file systems and generally is not able to work with drives of non-native formats. In Windows, such drives are listed in Device Manager but are not mounted and cannot be accessed from File Explorer.
As a rule, the OS suggests formatting such a drive to make it accessible. However, this operation destroys all the data currently available on the drive by applying a new compatible file system over the previous incompatible one. The use of FAT32/exFAT, which can be recognized by all major computer systems partially solves this issue. Yet, its applications are quite limited due to certain design peculiarities. Fortunately, nowadays, one can easily fix this problem by using dedicated data access software.
SysDev Laboratories recommends UFS Explorer and Recovery Explorer as handy software solutions for users who need to work with data located on external drives formatted in a non-compatible environment. Supporting a wide range of file systems of Windows, macOS, Linux and Unix/BSD, the software will immediately enable you to access and copy the files, no matter what storage they are found on, while that the original file system structure won’t be corrupted or altered in any way.
In particular, one may make use of UFS Explorer Standard Access, a utility developed specifically for getting access to drives with incompatible but intact file systems and copying their contents to another location in a quick and straightforward manner.
Hint: UFS Explorer Standard Access provides access to undamaged data of intact file systems, but does not recover the lost files. If there is any information you need to restore from an incompatible data storage medium, please choose a data recovery tool according to your needs
How to copy files from an incompatible drive with UFS Explorer Standard Access
In order to copy intact data from an incompatible drive with the help of UFS Explorer Standard Access, do the following:
-
Download and install UFS Explorer Standard Access on a computer running Windows.
-
If the blocked data is located on an external storage device, attach it to the host PC using any valid type of direct connection.
Mind that in case you need to work with an internal disk taken out from another computer, it is highly recommended that you connect it as a secondary storage using a SATA port on the host computer motherboard. As an alternative, you can also attach it using a USB to SATA adapter or a disk enclosure.
Hint: For detailed instructions on how to plug the drive into the motherboard of the computer or connect it externally using a USB to SATA adapter, please refer to the corresponding articles.
-
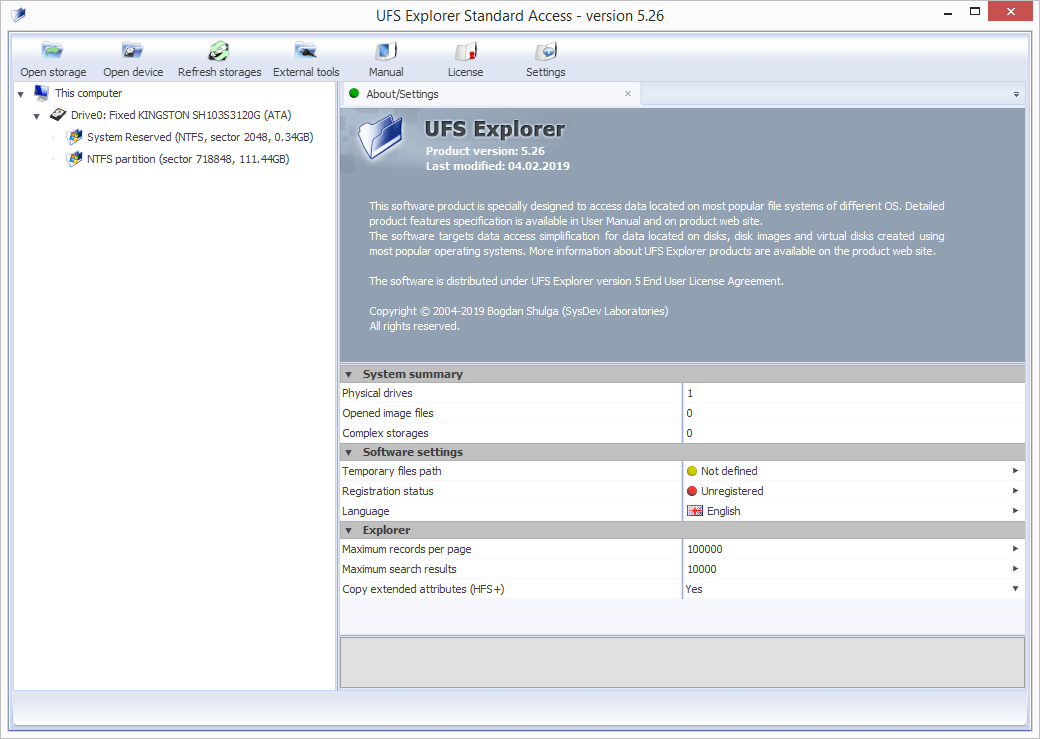
Run the application and modify its parameters in the settings tab, if it is necessary.
-
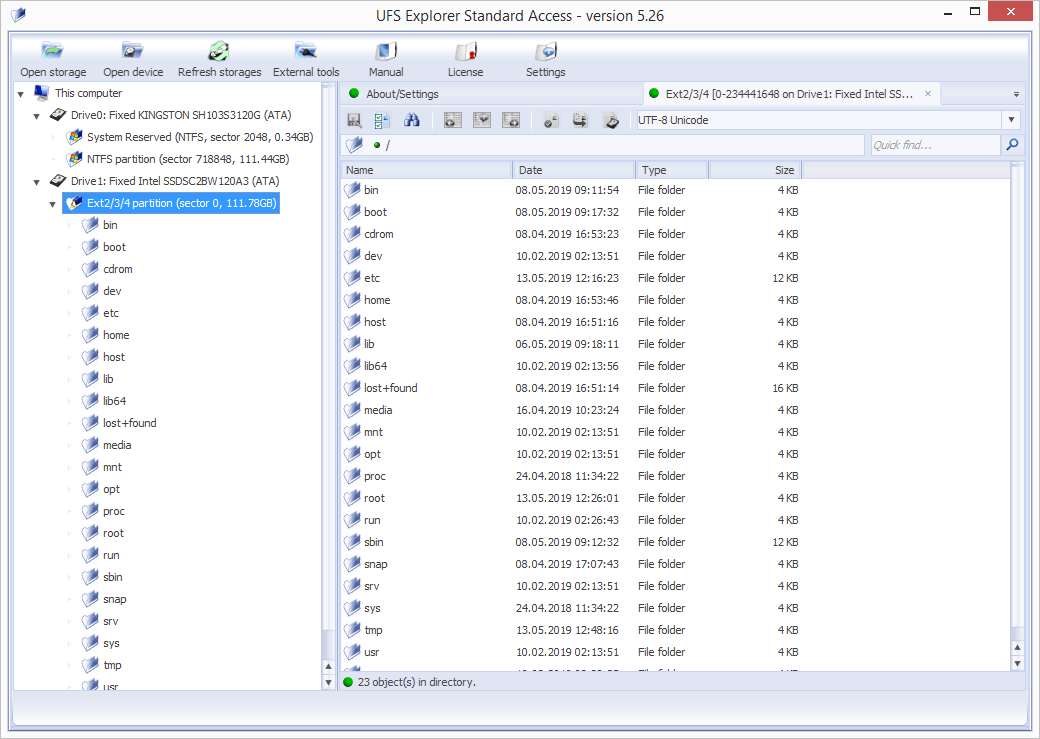
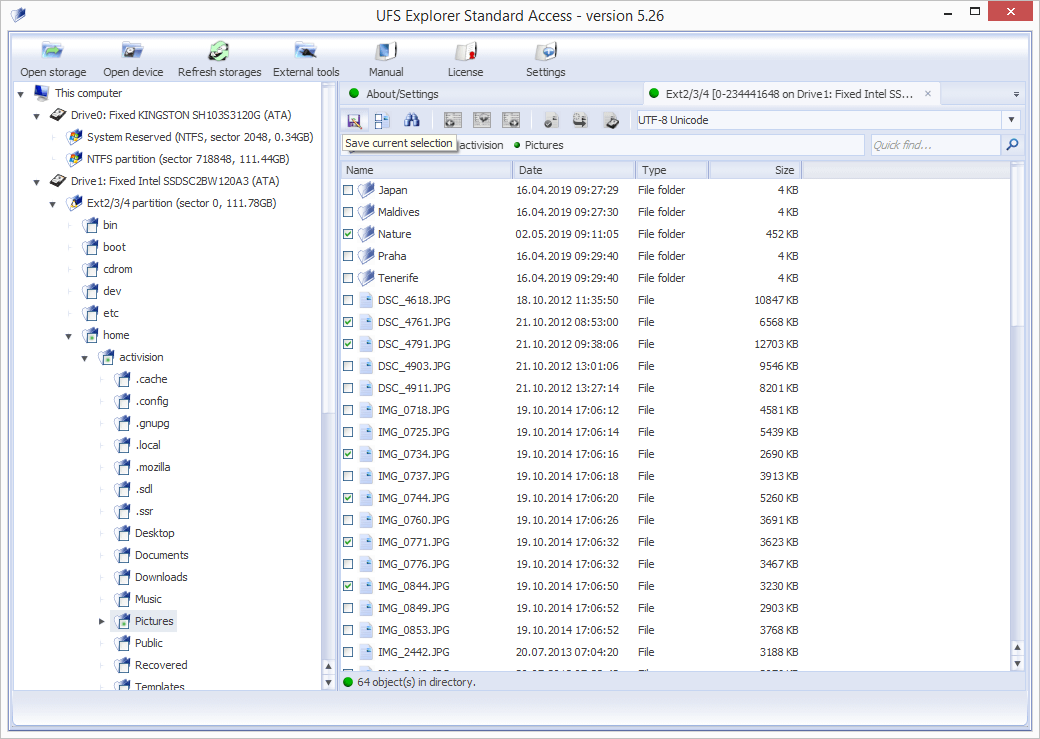
Find this disk under "This computer" element in the left pane of the program interface and select the corresponding logical volume.
-
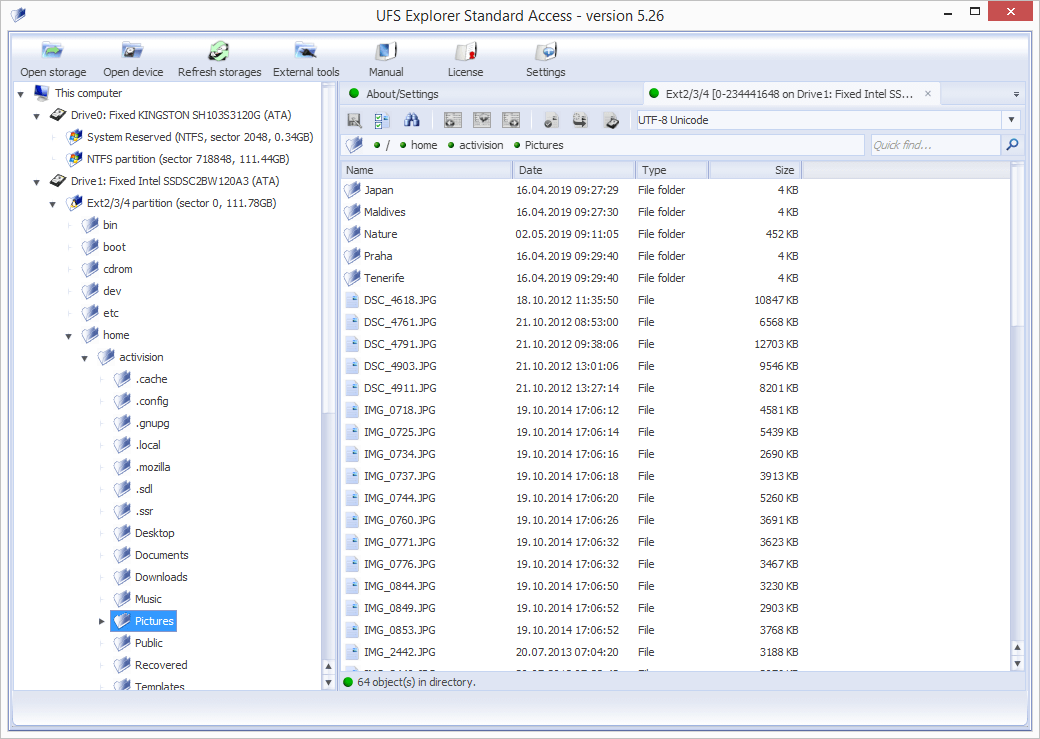
Go over the files and folders you will see in the main program area and find the ones you need to copy. You may sort them by name, date, type, preview them in the internal viewer or check their properties with the help of the "Object properties tool". The quick search field and the advanced "Find in this folder" tool are also at your disposal.
-
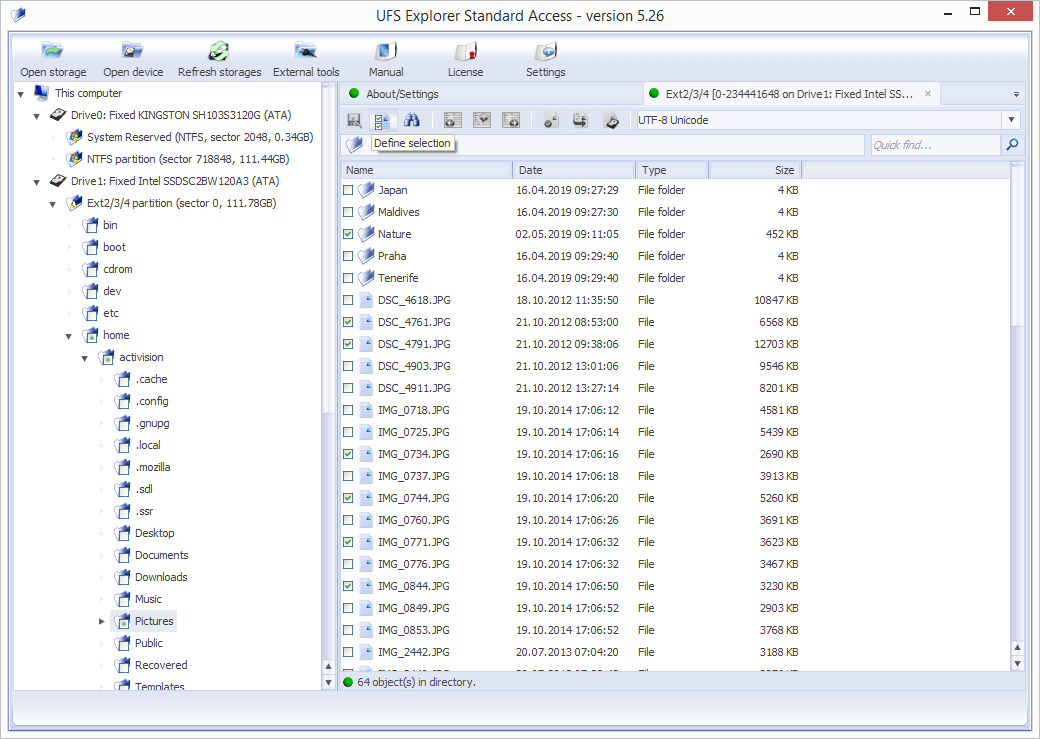
Click "Define selection" and mark all files/folders to be saved.
-
Copy the selected files to the host PC or any other location using the "Save current selection" tool.
Hint: If you are going to save the recovered data to a network storage, please check the provided guide.
Last update: June 25, 2024