How to recover data from a simple ZFS volume
ZFS provides numerous features that allow users to keep their files safe, but this, unfortunately, doesn’t make it totally resilient to data loss. As ZFS is more than just a file system, but a combination of the latter with a logical volume manager, its structure substantially differs from any other file system type. Therefore, it requires an individual approach to data recovery.
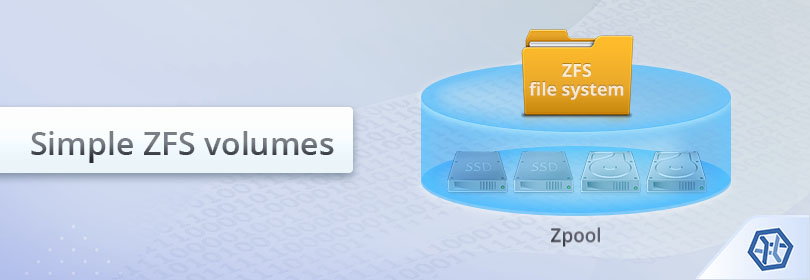
ZFS makes it possible to create a file system on top of a series of drives referred to as a zpool. Such a zpool can be striped over individual disks or mirrors. UFS Explorer RAID Recovery allows working with both simple and mirror ZFS volumes. With the help of this software tool, you can restore files lost from a zpool due to various logical issues, like unintentional deletion, impossibility to mount a zpool, creation of a blank zpool over the original one, etc. Use the following instruction to perform the procedure:
- Attach the available components of your simple ZFS volume to the PC.
Connect all the available member disks to the computer. The number of drives that can be missing depends on the type of ZFS volume: simple (stripe) volumes require all the drives to be present, two-way mirror volumes can make up for the lack of a single drive while three-way mirror volumes support the absence of two drives. Otherwise, the content of a storage may appear to be unreadable.
Hint: If you don't know how you can plug the drives into the motherboard of the computer or connect them externally using a USB to SATA/IDE adapter, please rely on the video tutorials.
- Install and run UFS Explorer RAID Recovery.
Open the program with administrator privileges and modify its settings, if it is needed. All the connected storage devices will show up in the left pane of the main window with their logical volumes listed below them.
Hint: If you have any difficulties with the installation of the utility, please refer to the installation manual for UFS Explorer RAID Recovery.
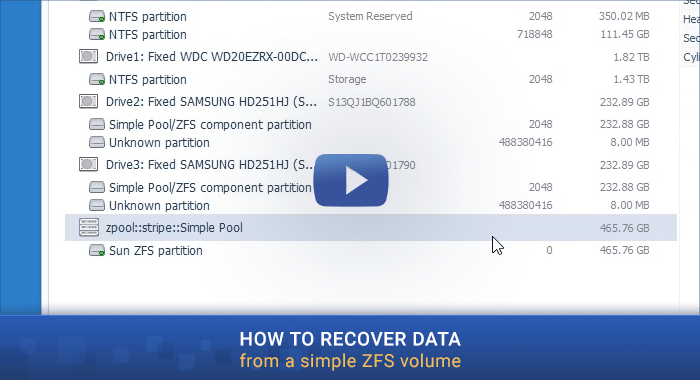
- Choose the needed ZFS volume, which should be reconstructed by the software automatically.
Simple (stripe) ZFS volumes will be automatically assembled by the program from the available constituents. You will just have to explore the list and find the necessary zpool, which will be labeled with a special icon and contain a Sun ZFS partition. If you have a mirror ZFS volume, you may use any of the mirror component drives, which will hold an intact Sun ZFS partition.
- Open its file system and assess the state of the available data.
Select the necessary Sun ZFS partition and review its content. You may do that by opening text files or images: if they are undamaged, their preview will appear in the program’s interface.
- Scan the storage to find the data which was deleted or lost.
If you want to recover deleted or lost files, you will have to carry out a storage scan: Choose the respective instrument in the toolbar, deactivate all file system types except Sun ZFS and press "Start scan".
Hint: More information about configuring the scan can be found in the instruction on scanning a drive with UFS Explorer.
- Select the restored items you need and save them to any other storage device.
Once the scanning procedure is completed, you can browse the file system reconstructed by the software and locate the required folders and files. After that, click "Define selection", put check marks next to them and click "Save selection". In the opened window provide any safe destination folder, ensuring that it is not found on any of the source drives.
Hint: If you are going to save the recovered data to a network storage, please check the provided guide.
One can also familiarize oneself with the general procedure by watching the following video:
Last update: August 16, 2022