How to recover data from a typical NAS device
Here you can find a step-by-step guide to data recovery from a NAS unit. These instructions can be of use in case of logical data loss from Buffalo TeraStation and LinkStation, Iomega StorCenter, Synology, LaCie, Intel and other RAID-based NAS models of different vendors. However, certain appliances, like Drobo, may employ specific storage technologies that have a direct impact on the recovery procedure. In the latter instance, you will need to consult the respective data recovery guide.
It should be noted that this manual assumes that you have removed the hard drives from the NAS box and connected them to the motherboard of a computer or using an external USB to SATA/IDE adapter as decribed in the instructions. In general, it is recommended to use a computer running Windows. That’s because this operating system doesn’t support Linux file systems and won’t write any data to the source drive. If you are interested in more details in this regard, please refer to the article covering the choice of the right OS for NAS recovery.
In order to use UFS Explorer RAID Recovery for restoring files deleted or lost from you NAS, you will need to do the following:
- Install and start the program
After launch, the program automatically detects all the attached disks, which will be displayed in the list of connected devices in the left pane of the main screen. Each of the disks will have several partitions listed below, their exact number and sizes may vary for different NAS models/manufacturers.
Hint: If you have any difficulties with the installation of the utility, please refer to the installation manual for UFS Explorer RAID Recovery.
- Find the assembled RAID holding user data
Scroll down the list to see whether the storage has been reconstructed automatically. There should be several RAID sets of different levels. Look at their size – the largest one usually contains user files. If the red color is present in the storage icon, this means that the array is in the degraded mode.
Hint: The specificities of data retrieval from RAID of different configurations are described in the RAID recovery guide.
- Assemble RAID manually.
If the structures describing the RAID configuration have been corrupted, the software may not be able to reconstruct it automatically. In this case, manual assembly of RAID is required.
-
3.1 Open RAID Builder
Press the “New RAID” button to open RAID Builder in the software interface.
-
3.2 Add each component to RAID
All the drives of a single NAS usually have the same structure of disk partitions among which there is the largest one which holds user data. Only the “data” partitions are to be added to the array rather than entire drives. Double-click each of them or select the partition and choose the “Add to RAID” context menu option. If any of the disks is missing, add a placeholder instead of its data partition.
-
3.3 Adjust the drives order and RAID parameters
Set the correct order of the drives using the arrow-like buttons. Check the parameters of RAID in the “Virtual RAID configuration” sheet and modify them, if needed.
-
3.4 Build RAID
Press “Build this RAID” and the software will add this array to the list of devices.
-
- Check its file system.
As a rule, the mounted RAID storage will contain a singe partition. Select it to evaluate the state of the data. If the files seem intact, the RAID has been built correctly.
- Scan the storage
To find the lost data you will need to run the storage scan using the respective tool from the toolbar. Deselect all unnecessary file systems or leave them as they are and click “Start scan”.
Hint: More information about configuring the scan can be found in the instruction on scanning a drive with UFS Explorer.
- Choose and copy the needed files and folders
When the scanning process is finished, click “Yes” to save the obtained scan result, if you need it for future reference. After that, browse through the files and folders found by the software. To save the necessary items, click “Define selection”, tick them off and press “Save selection”. Specify the destination folder for the recovered data in the pop-up window, ensuring that it is not located on one of source drives.
Hint: If you are going to save the recovered data to a network storage, please check the provided guide.
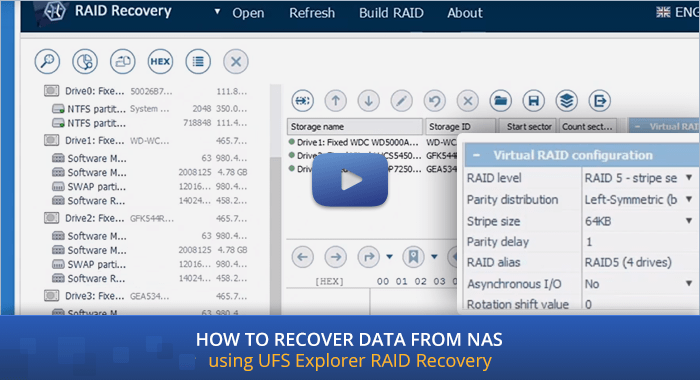
The following video demonstrates the process of recovery step by step:
Last update: August 16, 2022