How to recover data from Btrfs-RAID
Btrfs as a new-generation file system has incorporated a whole lot of advanced features that enable its great resilience, instant repair of logical errors and simplified administration. Basically, this file system alone is able to replace the traditional Linux volume management and the mdadm software RAID tool: one can create Btrfs on top of many devices while giving it the fault-tolerance capabilities of RAID 1, RAID 5, RAID 6 or RAID 10. Yet, it is important to understand that Btrfs, although significantly improves the safety of the stored data, cannot entirely prevent its loss.
Hint: All the basic concepts related to RAID are explained in the peculiarities of data organization on RAID.
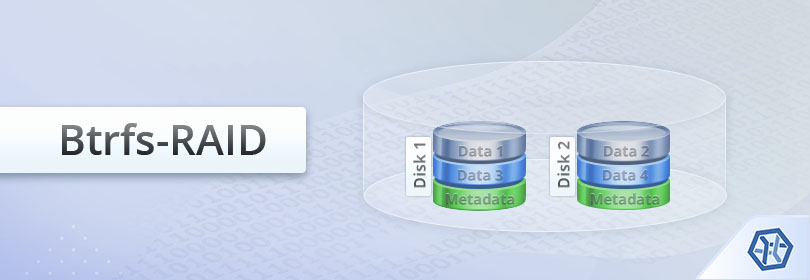
Speaking of the recovery of files lost from Btrfs-RAID, the specifics of data placement on it makes the restoration process far more complicated. Standard RAID is usually handled in two separate steps – the reconstruction of RAID configuration and work file system elements, while the disk space gets divided by the file system into a consecutively numbered set of data blocks, so determining the location of the first bock and the block size is enough to obtain the location of other ones. In contrast, Btrfs arranges data blocks on the RAID disks in an arbitrary order and keeps track of the correspondence between the blocks and physical addresses on the disk to which they are assigned with the help of a special Chunk Table. This makes the system much more flexible, but renders it impossible to establish the location of data blocks in case of damage or loss of the two copies of the Chunk Table. However, if at least one of the copies is intact, UFS Explorer RAID Recovery is able to interpret the Chunk Table and automatically reconstruct Btrfs-RAID of any complexity for further data recovery manipulations.
Rely on the following instruction to perform the procedure:
- Attach all the available components of your Btrfs-RAID to the PC.
Connect the disks which form the storage to your computer. The number of disks which can be missing is equal to the one of the respective level of conventional RAID: zero drives for Btrfs-RAID 0, one drive for Btrfs-RAID 5, two drives for Btrfs-RAID 6, one drive (in some cases two) for Btrfs-RAID 10 and at least one drive out of a mirror must be present in Btrfs-RAID 1.
Hint: You can plug the drives into the motherboard of your PC or сonnect the disks externally using a USB to SATA/IDE adapter.
- Install UFS Explorer RAID Recovery and run the software.
Launch UFS Explorer with administrator’s privileges and modify the program’s settings, if needed. All the intact attached drives will be displayed in the main window on the left. Their logical volumes will be listed below them: each disk of Btrfs-RAID will have a Btrfs component partition on it.
Hint: If you have any difficulties with the installation of the utility, please refer to the installation manual for UFS Explorer RAID Recovery.
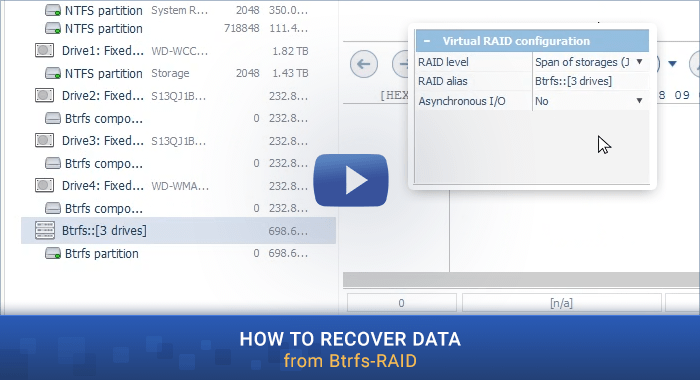
- Select the automatically restored Btrfs-RAID from the list of detected storage devices.
The program will automatically assemble the system from its constituents. You will simply need to scroll through the list and find the reconstructed Btrfs marked with a complex storage icon.
- Browse the data of the mounted Btrfs partition and check its integrity.
Select the Btrfs partition found on the storage and explore its content. If the array has been assembled successfully, you will be able to open the preview of images and text files directly in the software interface.
- Scan the storage to find deleted or lost data.
If you need to extract deleted or lost files, run a scan of the corresponding Btrfs partition: find the "Scan for lost data" tool in the toolbar, deactivate all file system types except Btrfs and press "Start scan".
- Determine the wanted restored items and save them to another disk.
When the process is carried through, you can take a look at the recreated file system and find the needed folders and files. After that, click "Define selection", check them off and press "Save selection". In the opened window provide a safe destination storage other than any of the source drives.
The following video will also assist you in the process:
Last update: August 12, 2022