The process of data recovery from QNAP NAS running QuTS hero OS
QNAP NAS models powered by QuTS hero OS adopt a distinct approach to data storage that differs significantly from QTS-based counterparts. Instead of LVM and the Ext file system, these devices rely on ZFS storage pools. QNAP has greatly customized ZFS for this specific application. However, this has made their implementation, known as QNAP ZFS or QZFS, incompatible with third-party file system drivers. Differences exist not only in metadata structures, but also in the algorithms governing RAID-Z operations. In UFS Explorer, this proprietary QNAP ZFS (QZFS) file system is supported exclusively by the UFS Explorer Technician edition.
Data recovery after a device failure
In the unlikely event of a NAS unit failure, it is usually possible to simply move the disk pack to another compatible QNAP NAS running the same or higher version of QuTS hero OS, with the same or a greater number of drive bays.
However, not all versions of QZFS are compatible with all versions of QuTS hero, so it is recommended to ensure compatibility according to the manufacturer’s recommendations.
As an alternative, our UFS Explorer Technician product can recognize the QZFS file system and let you gain access to the data without a compatible NAS. This is especially helpful when a replacement device is not available or the data is required as soon as possible before the new device arrives.
Deleted data recovery
Typically, files and folders deleted from a QNAP NAS can be restored via the network Recycle Bin folder.
If the data has been deleted from the Recycle Bin or bypassed it entirely, you may still be able to recover recently deleted files using UFS Explorer Technician. To do this, follow these steps:
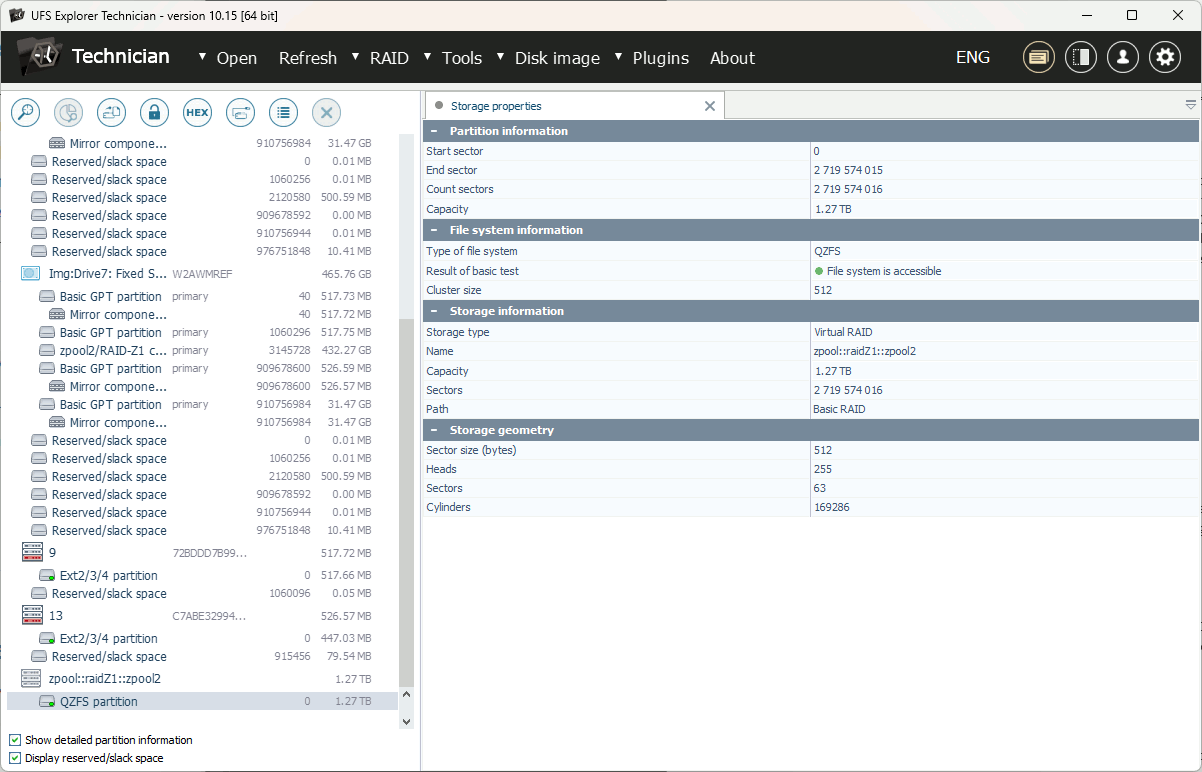
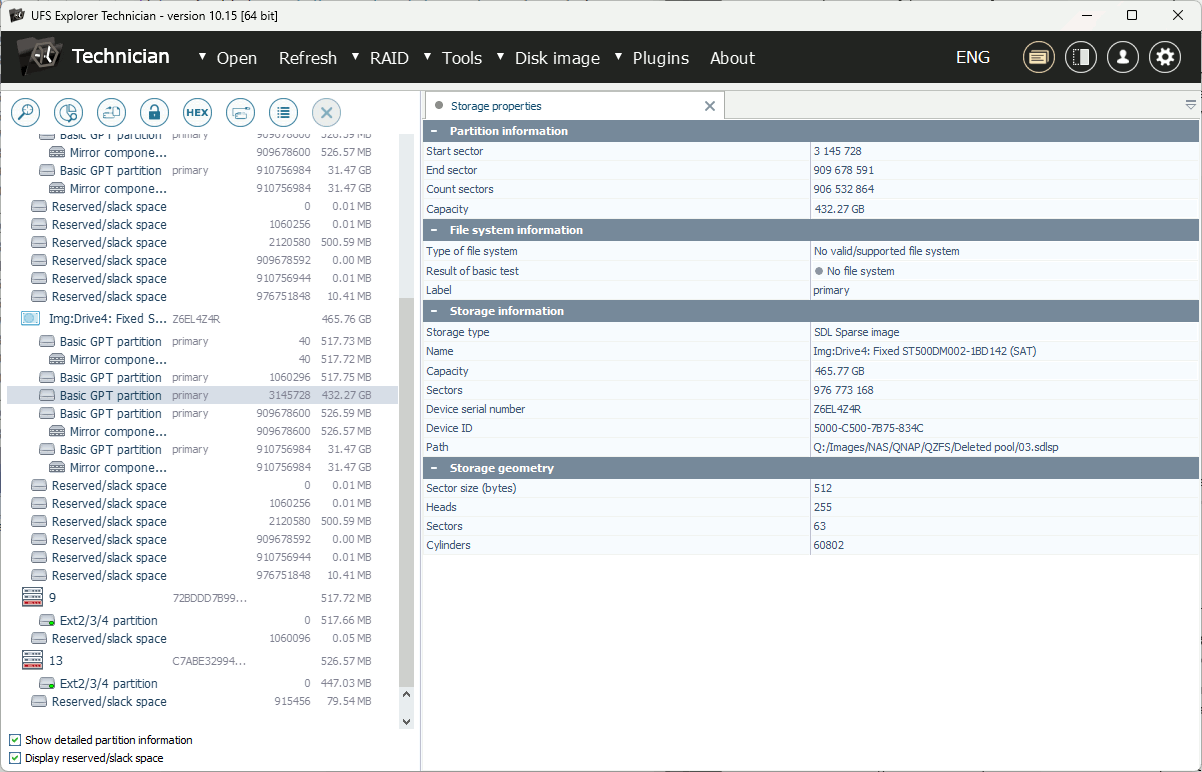
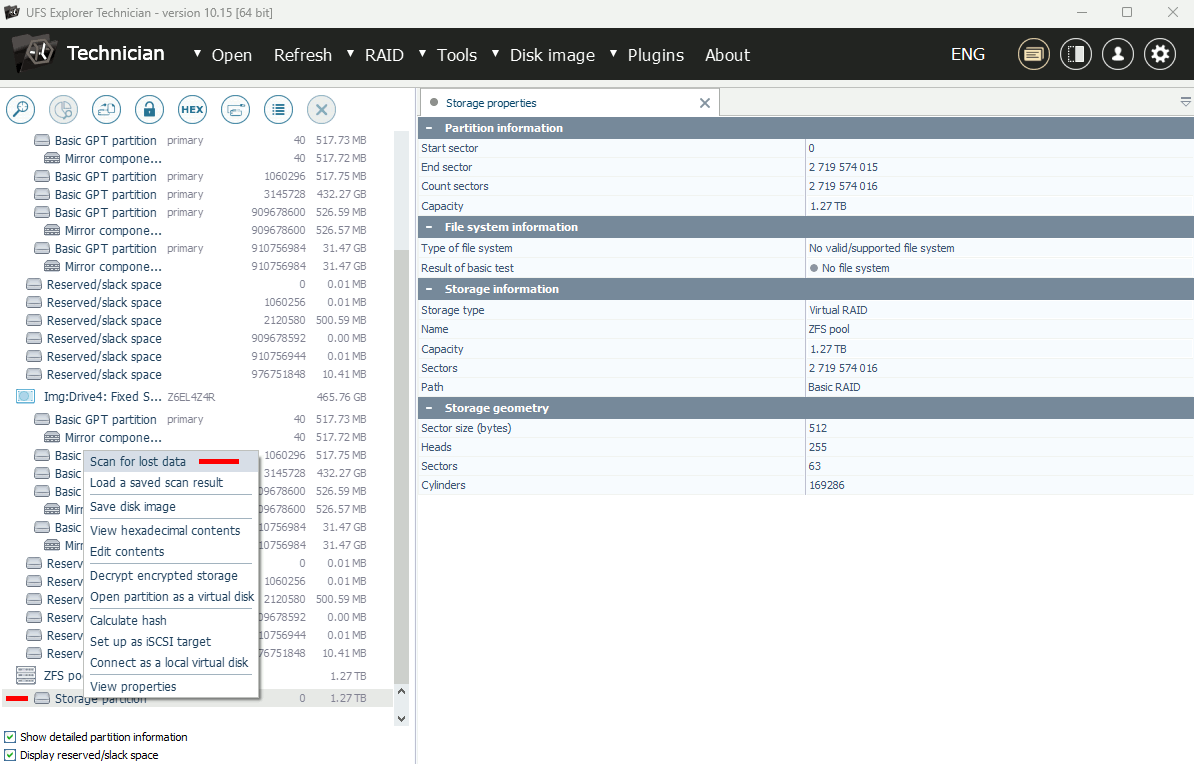
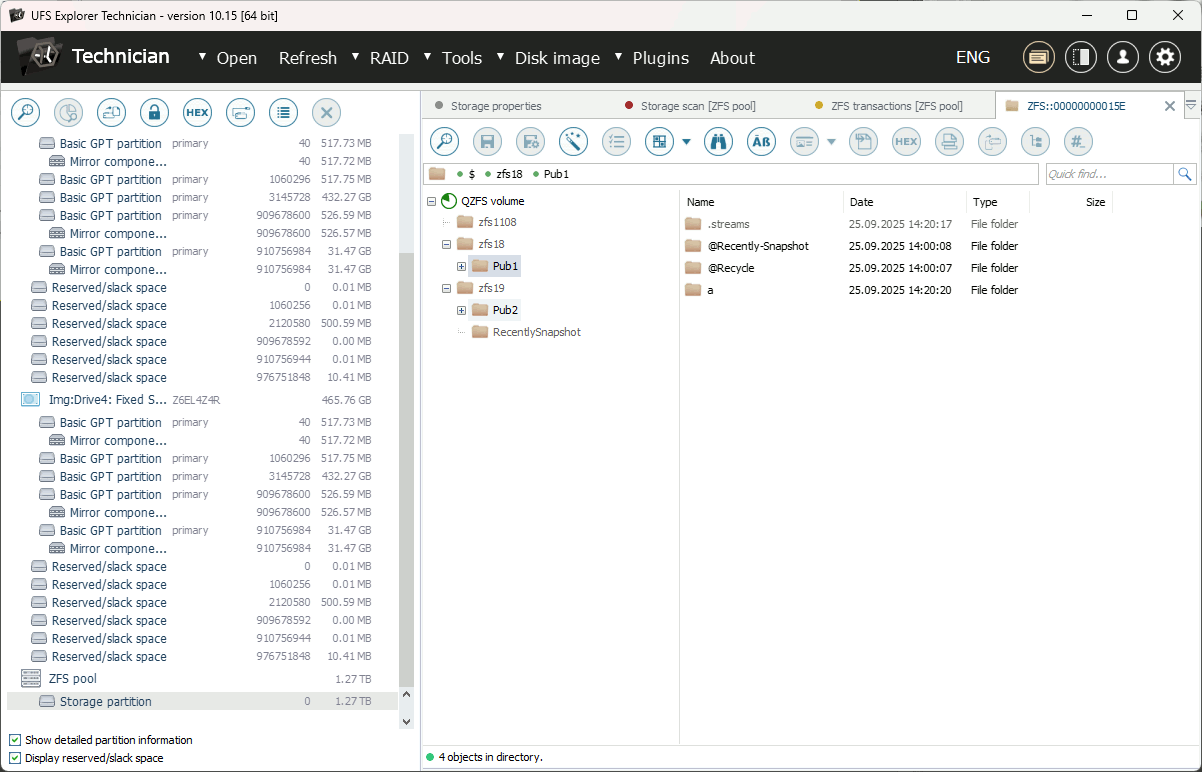
Connect all drives removed from the NAS to a Windows PC or server and launch UFS Explorer Technician for data recovery. The software should assemble the datastore automatically and display the QZFS file system.
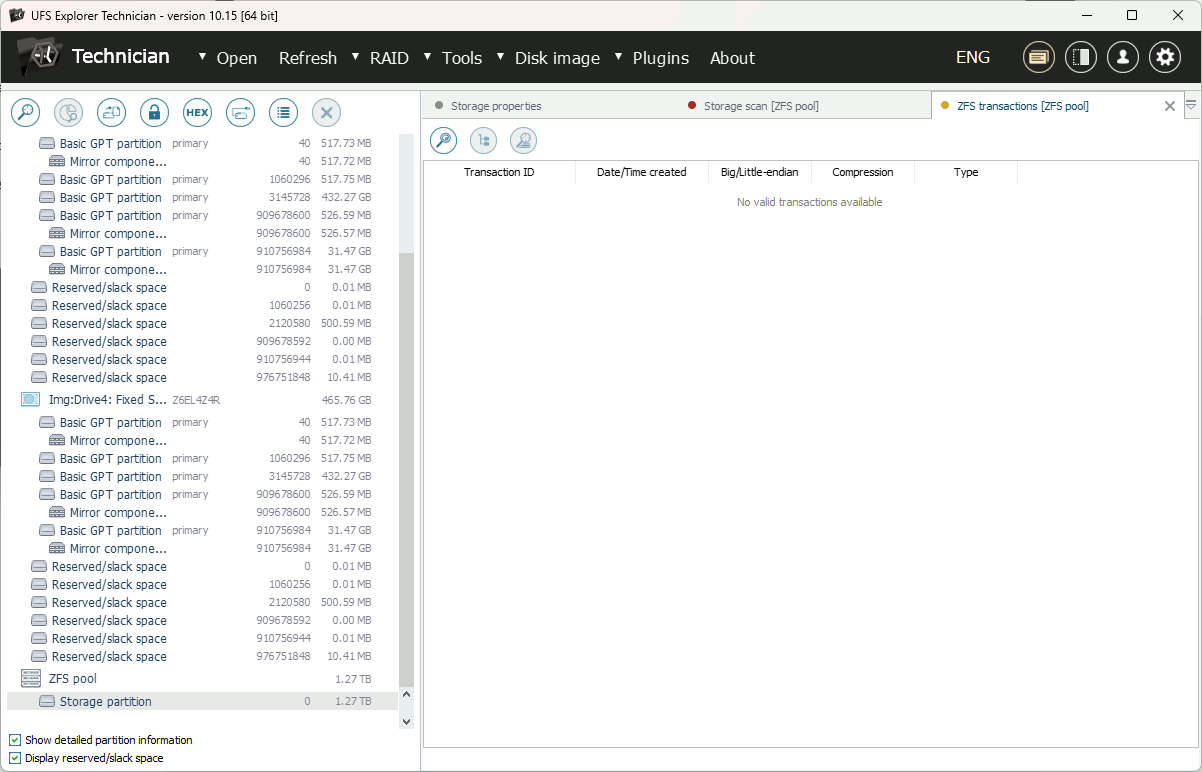
Right-click the file system and choose "Show file system transactions". After a short wait, the list of most recent ZFS transactions will be displayed.
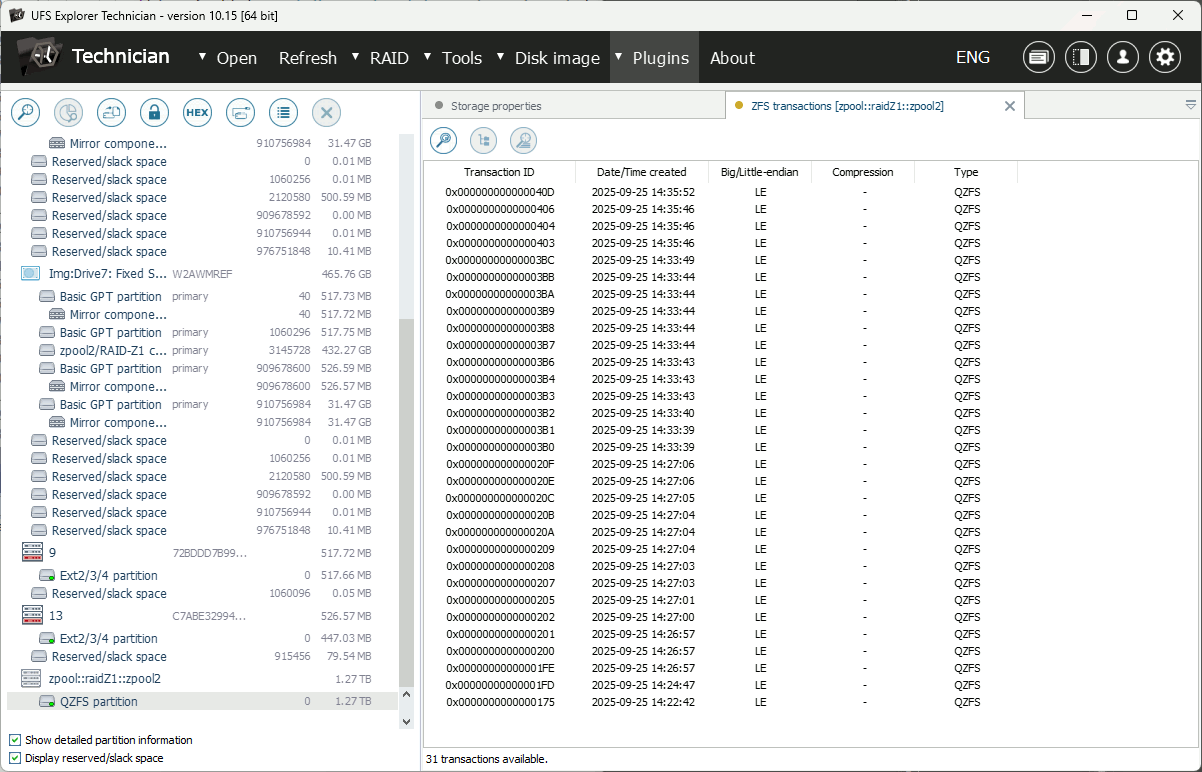
Each transaction includes recent modifications to the file system. Look for a transaction dated prior to data deletion and open it to view the files. The transaction should represent the file system state before the data was deleted.
Use the opened file system to retrieve the required data.
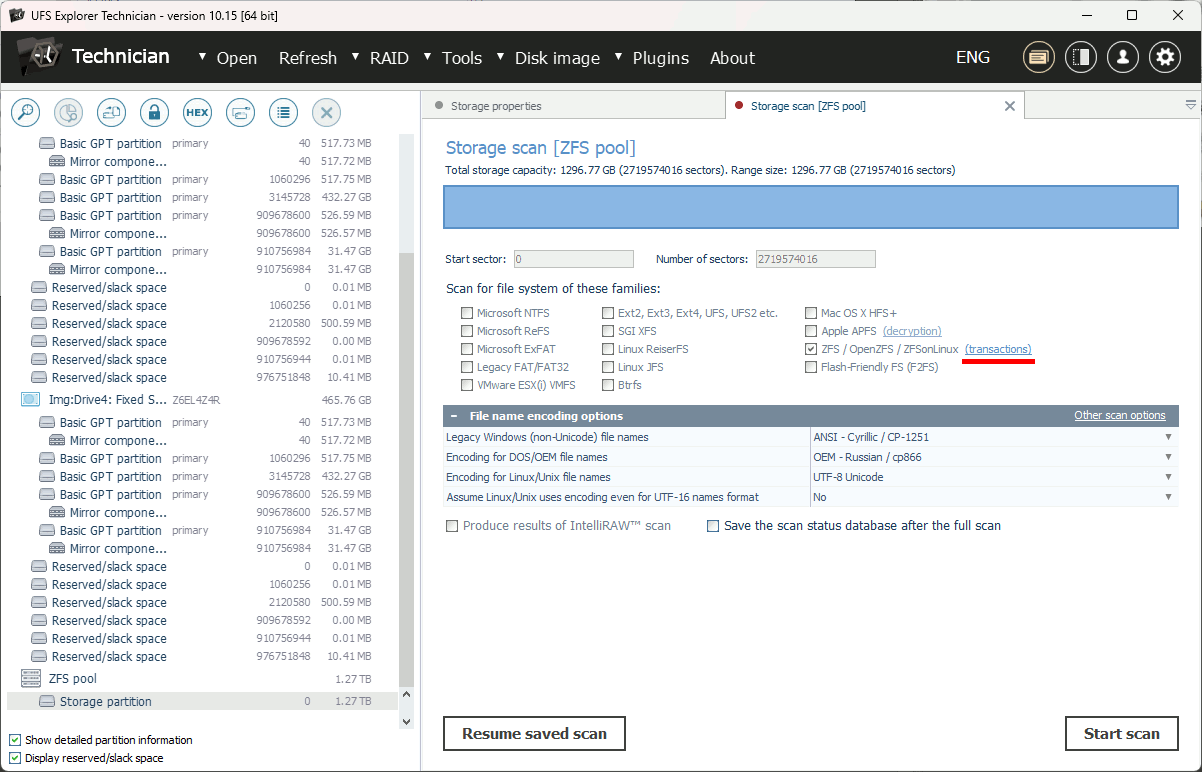
If the file system has been in use for a long period and even the oldest transaction during quick access doesn’t contain the deleted data, you can run a scan for older transactions. To do this:
Click the "Search transactions" button on the toolbar and specify the search parameters.
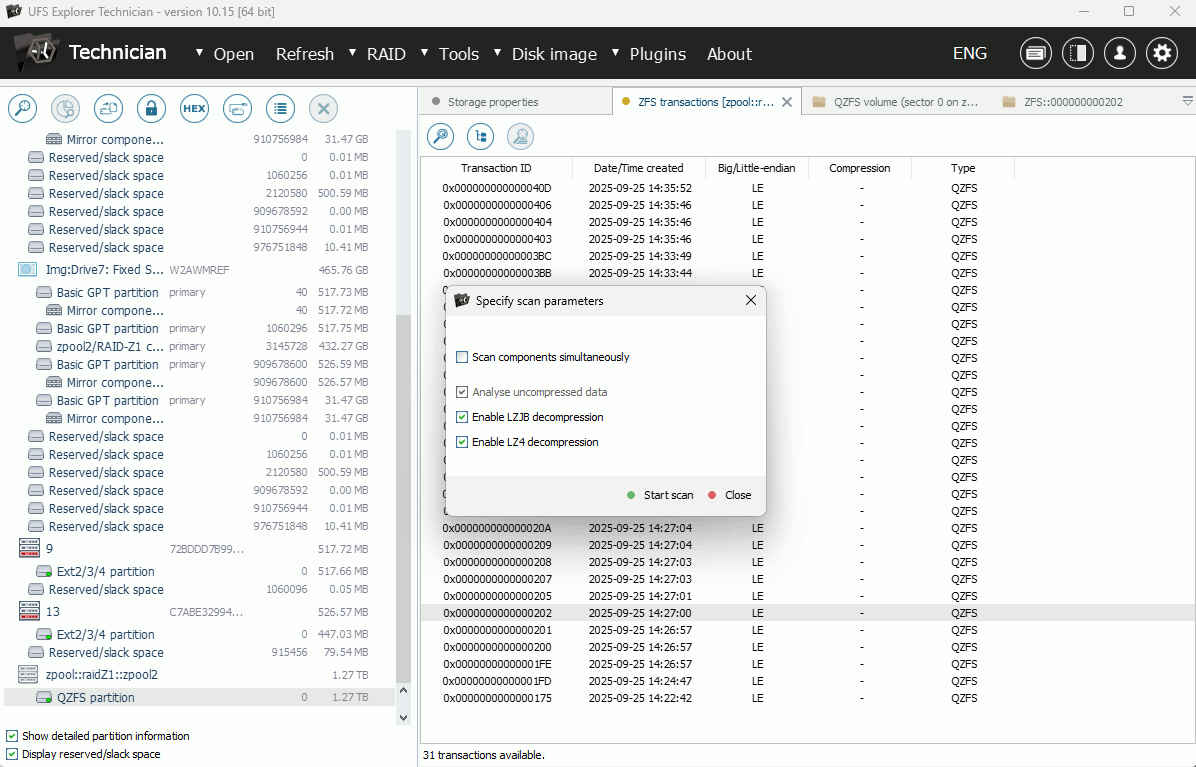
QNAP QZFS usually doesn’t use compression on root metadata, so it is recommended to disable both LZJB and LZ4 decompressions for performance reasons (unless transactions displayed during the quick access check reveal that compression is enabled).
It is also advisable to enable the "Scan components simultaneously" option, especially if source components (images) reside on different physical media.
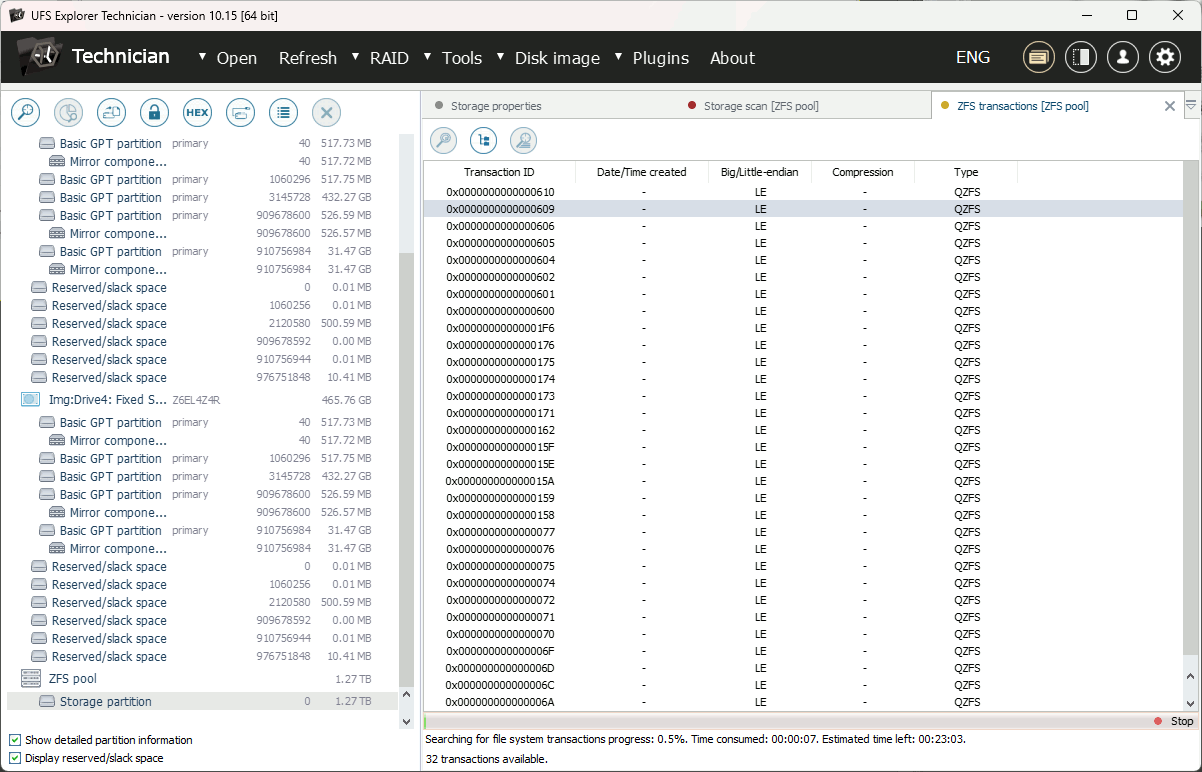
Click "Start scan" and the software will start locating previously undetected transactions, typically without dates, but still sorted in chronological order by ID.
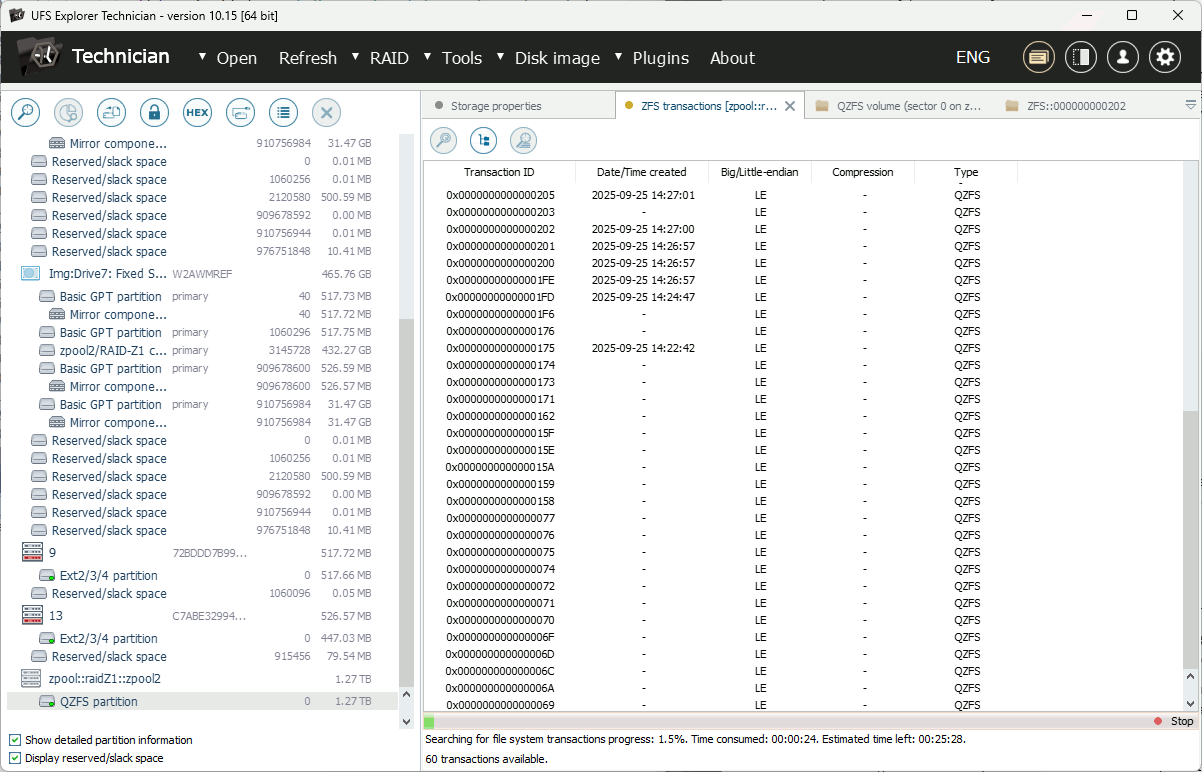
You can check these transactions even while the scan is still running. Once the transaction containing your data is identified, you can stop the scan and proceed to data recovery.
Recovery of deleted datasets
Deletion of datasets (shared folders) on the ZFS file system works using the same mechanism as deletion of files and folders. Please follow the instructions in the deleted data recovery section to recover deleted shared folders.
Data recovery after pool deletion
This is the most complicated scenario since pool deletion removes all metadata describing the pool, including the RAID-Z configuration, quick access to the file system or transactions and other details. For this reason, the software will not be able to identify the pool or its components automatically.
To proceed, it’s recommended to create a "test" pool on different drives of the same capacity (same RAID level, same NAS, fewer disks is acceptable) and connect it to a PC for the sample analysis. Right-click the recognized "test" pool and check the following parameters:
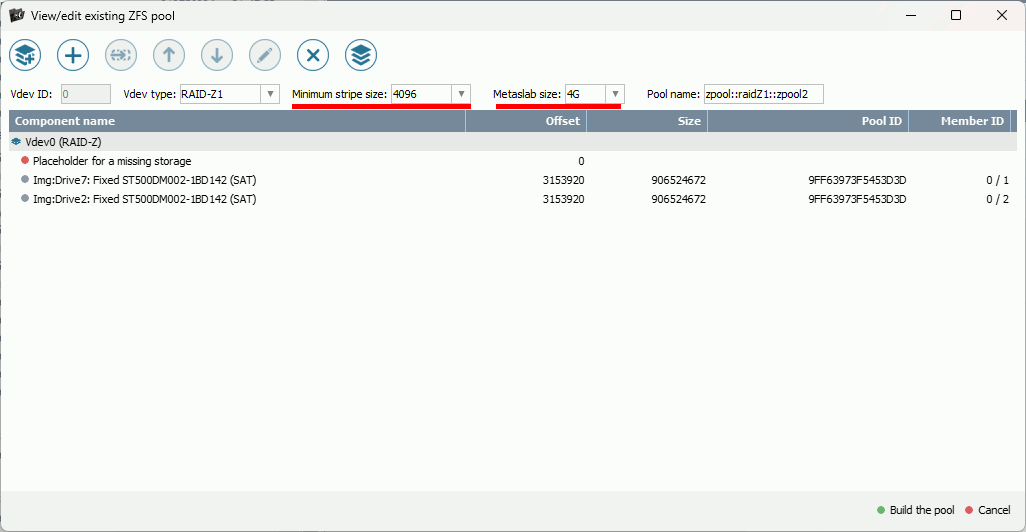
Note down the values of "Minimum stripe size" and "Metaslab size" (these are specific to the capacity of the drives in the pack).
After that, return to the original datastore components and perform the following steps:
In the main menu, click "RAID" and then "New ZFS pool".
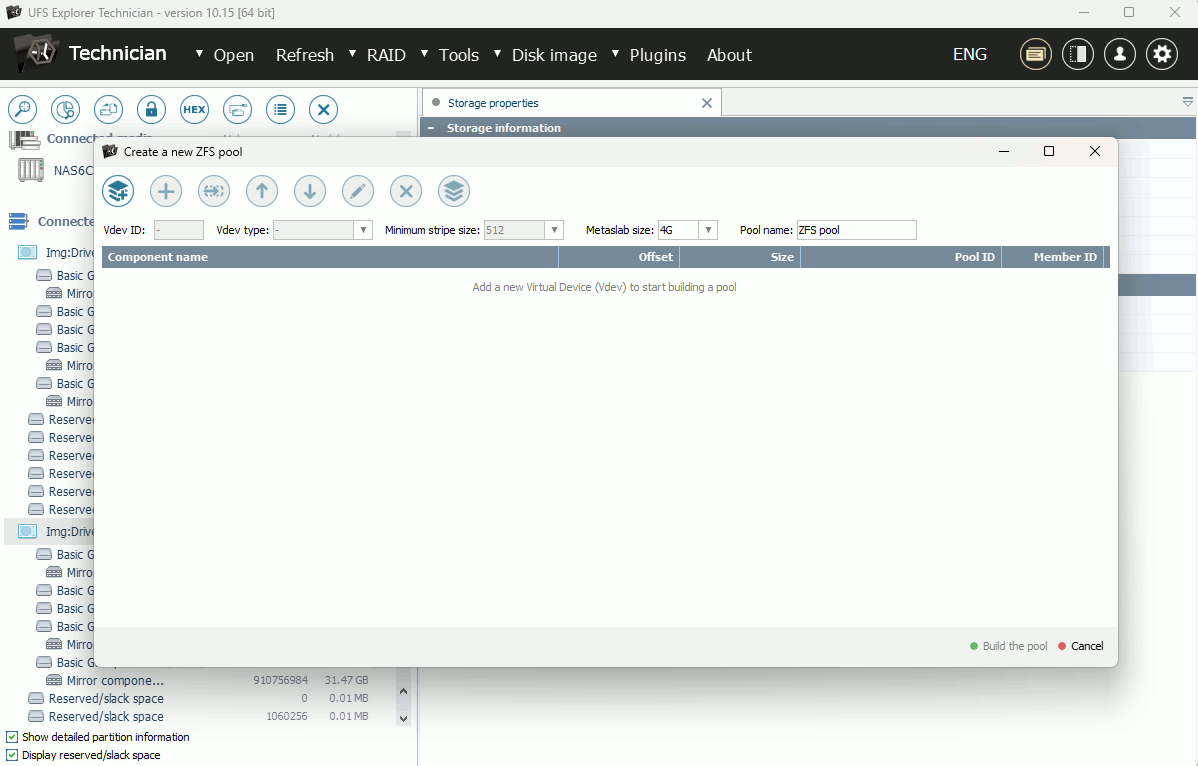
Click "Add a new vdev" to start building the pool. Select vdev type (e.g., RAID-Z) and add vdev components in their original order, including placeholders for any missing components. Specify the valid values for "Minimum stripe size" and "Metaslab size".
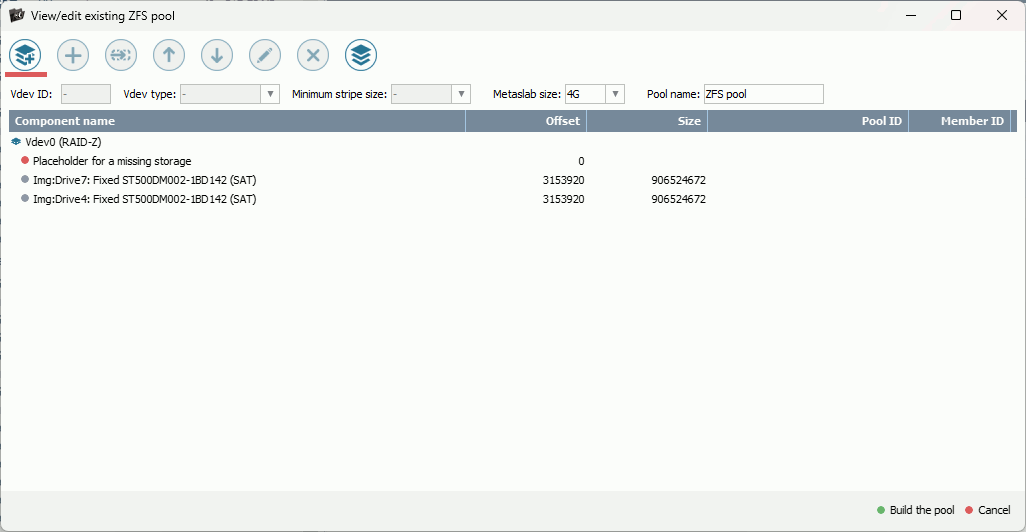
Click "Build the pool". This will produce a new pool volume without a file system on it (since the original the metadata is missing, as explained above). Consequently, ZFS-related functionality will not be available as well.
Choose the "Scan for lost data" option, but instead of starting a new scan, click the "transactions" link next to the ZFS file system family selection.
The program will open the "Transactions" dialog. Yet, because there are no transactions for "quick access", the list will be empty.
Start a scan for lost transactions. Wait for some time for the transactions to appear. Once the transactions are detected, you can proceed and open the file system.
It is recommended to check multiple transactions in reverse chronological order to return to the state before the pool deletion, as the most recent transaction may reflect the state after dataset deletions.
If no transactions are found, this may indicate an incorrect RAID configuration. In that case, edit the RAID parameters and repeat the process starting from Step 4.
QNAP ZFS (QZFS) and computer forensics
The QZFS file system is not supported by most common computer forensic programs and requires exporting the found data for forensic analysis.
Creating a disk image of the assembled RAID-Z is strongly discouraged. RAID-Z cannot be imaged as a single disk image in a working condition or in a state that accurately represents the actual data. This results from the fact that rotation and block size are encoded in file system pointers and cannot be restored outside the context of the file system and RAID-Z.
For data analysis purposes, it is recommended to extract files from the QZFS file system to an empty (zeroed and then formatted) storage medium of a supported format and then proceed with forensic analysis.
For evidence collection and its chronological tracking, it is possible to extract multiple file system states defined by different transactions, ordered by timestamps or transaction IDs, following the procedure outlined in the deleted data recovery section.
Last update: October 07, 2025