How to recover data from ZFS RAID-Z
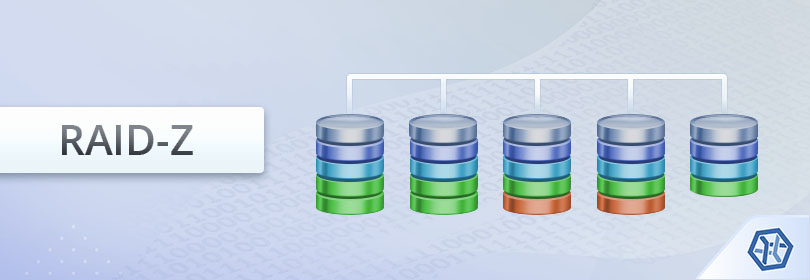
ZFS presents its own realization of software-based RAID referred to as RAID-Z. Besides improving performance, such a system is able to combat silent data corruption. To achieve this, it detects bad data blocks by using a checksum and instantly repairs logical errors. This feature is of great help in maintaining the integrity of data stored on the array. But, in spite of everything, it cannot protect the files from various software malfunctions. Besides, the user negligence and mistakes may provoke massive data loss as well.
Though RAID-Z employs a data distribution scheme similar to the traditional RAID 5, it uses dynamic stripes instead of stripes with fixed size. The information about the width of each stripe is written in metadata. Given the dynamic nature of the system, data recovery from it is only possible when the metadata is intact. It must be analyzed properly to determine the correct geometry of RAID-Z. UFS Explorer Professional Recovery is capable of interpreting the metadata, reconstructing RAID-Z configurations and provides effective means for regaining of files lost from them. Use the following instructions to utilize this software instrument for your RAID-Z data recovery procedure:
- Connect all the available constituent disks of your RAID-Z to the PC.
Attach the drives which make up RAID-Z to the computer. The number of failed disks the system can compensate depends on the actual RAID-Z mode: RAID-Z 0 offers not redundancy and thus requires all the disks to be connected, RAID-Z 1 allows for one disk to be missing, RAID-Z 2 copes with the failure of two disks while RAID-Z 3 allows three disks to fail.
Hint: If you don't know how you can plug the drives into the motherboard of the computer or connect them externally using a USB to SATA/IDE adapter, please rely on the video tutorials.
- Install UFS Explorer Professional Recovery and launch the application.
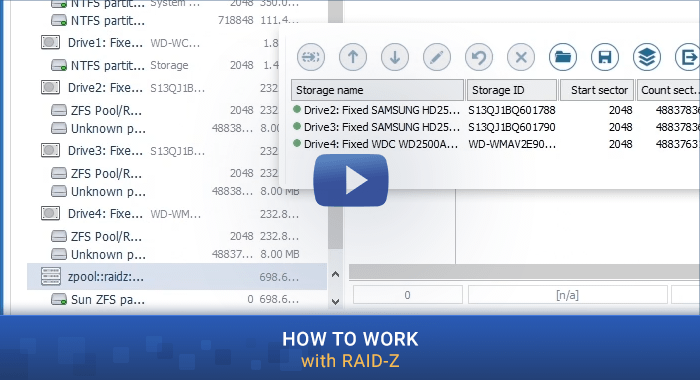
Run the software with elevated privileges and adjust its settings, if necessary. All the connected disks will appear in the left pane of the main screen. Their logical volumes will be displayed below them: each of the disks belonging to RAID-Z will contain a RAID-Z Pool/RAID-Z partition and a single unknown volume.
Hint: If you have any difficulties with the installation of the utility, please refer to the installation manual for UFS Explorer Professional Recovery.
- Select the automatically reconstructed RAID-Z storage from the list of detected storages.
The program will automatically reconstruct the array from the components for immediate access to its content or further data recovery operations. You will simply need to scroll down the list and find the assembled zpool::raidz. It can be easily identified with the help of a special icon.
- Explore the data of the ZFS partition found on the restored RAID-Z.
Open the Sun ZFS partition located on the reconstructed storage and check its content. You may try opening the available images or text files: if they are good, you will see the preview right in the program’s interface.
- Scan the partition to recover deleted or lost data.
To get back lost or deleted or files, you will have to run a scan for the respective Sun ZFS partition. Choose the "Scan for lost data" option in the menu, turn off all file system types except Sun ZFS and click "Start scan".
Hint: More information about configuring the scan can be found in the instruction on scanning a drive with UFS Explorer.
- Decide which of the restored items you need and copy them to another safe storage.
Upon completion of the scan you can navigate through the files and folders found by the program to locate the required items. After that, press "Define selection", tick them off and press "Save selection". In the pop-up window define any safe destination location for the data, which should not be on any of the source disks.
Hint: If you are going to save the recovered data to a network storage, please check the provided guide.
To perform the process as easy as pie you can also watch the following video tutorial:
Last update: August 06, 2022