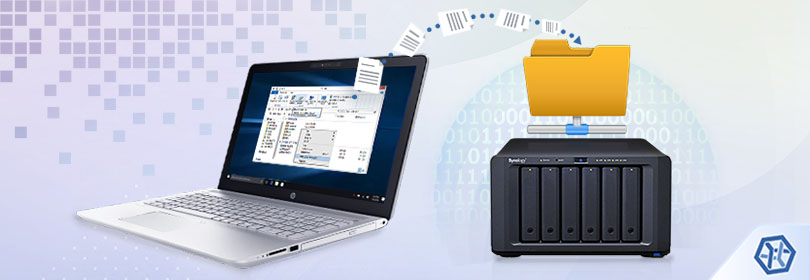
Use of a network storage to save the recovered data
As a rule, the last step of a data recovery procedure encompasses the inspection of the obtained result, selection of the necessary files and their copying to a target location. The latter can be any storage accessible by the operating system other than the partition containing the lost information: another logical volume of the internal drive or a portable storage device, like an external USB-disk or memory stick. However, when the size of the chosen files is considerable, a more capacious storage may be required, and a NAS unit or a shared drive of another computer may become perfect solutions.
In view of the fact that such storages are accessed non-directly via network data transmitting protocols, their usage for saving the data may require additional preparation measures. Therefore, if your network storage is not displayed in the list of target devices in the "Save" save dialog of UFS Explorer, please follow the set of provided instructions, depending on the operating system you use.
For Windows
To make a folder on a network storage available for copying the data, you can map its location in the operating system. This method will create a shortcut for it in File Explorer for quick access and will be more convenient if you are going to employ it on a regular basis. As an alternative, you can simply use the direct path of your network location.
Mapping the network location
-
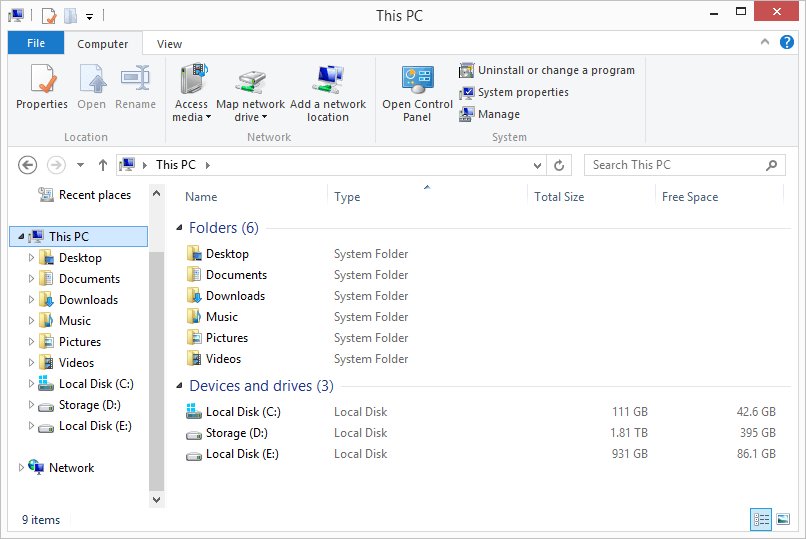
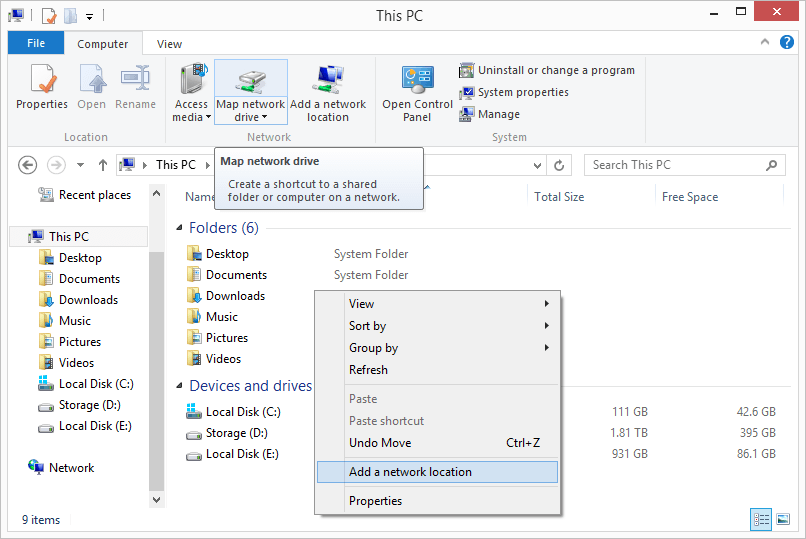
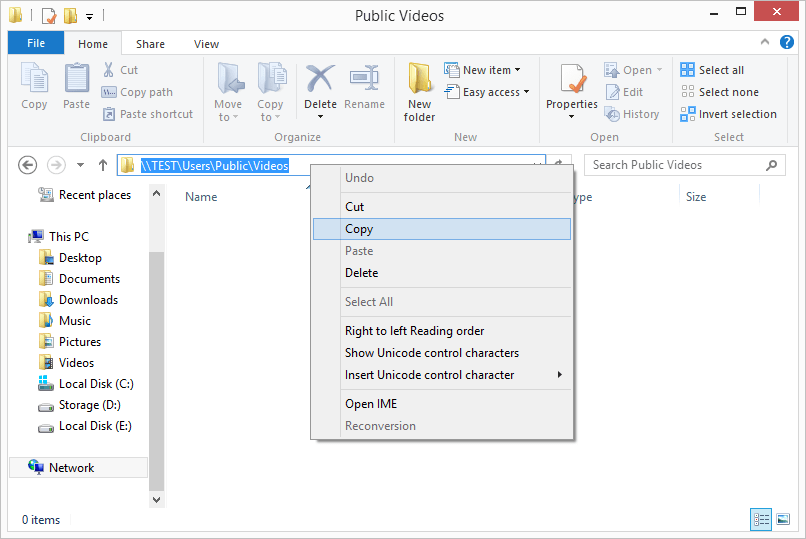
In the operating system, open File Explorer and find "This computer".
-
Choose the "Map network drive" option in its context menu opened with the right-click of a mouse.
-
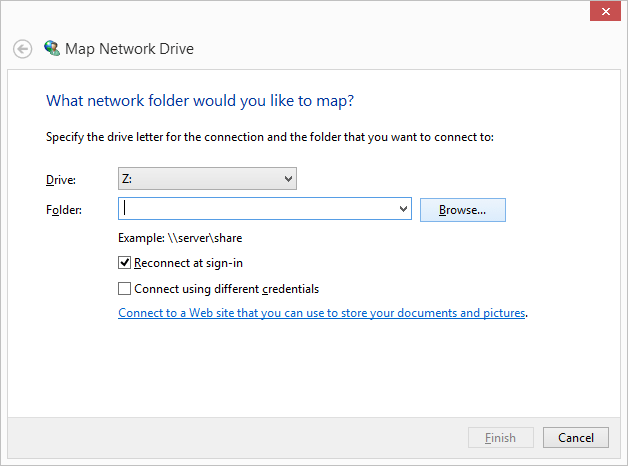
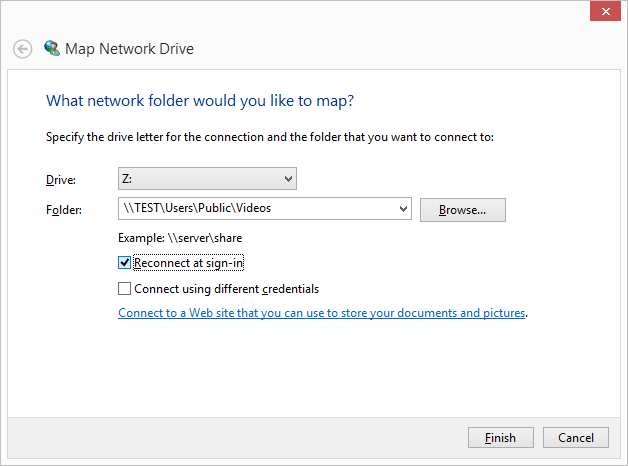
Select the drive letter you prefer to use for it and press "Browse" to choose your network folder.
-
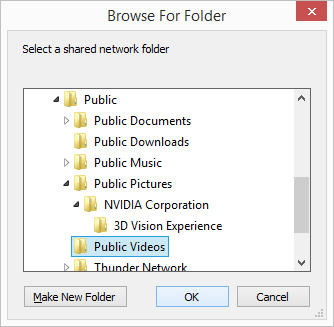
Navigate to the folder you want to map and click "OK".
-
Enable the "Reconnect at sign-in" checkbox.
-
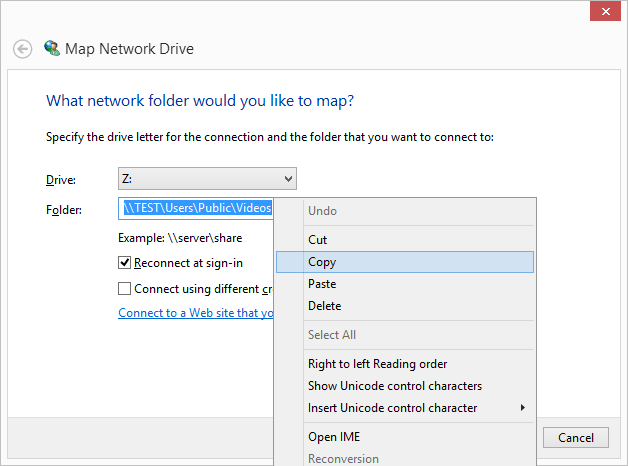
Copy the full path of the drive from the address bar and hit "Finish".
-
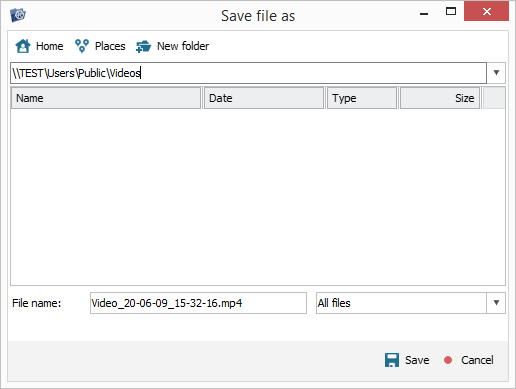
In UFS Explorer, paste the copied path in the address bar of the "Save" dialog and press the "Save" button.

Using a direct path of the network location
-
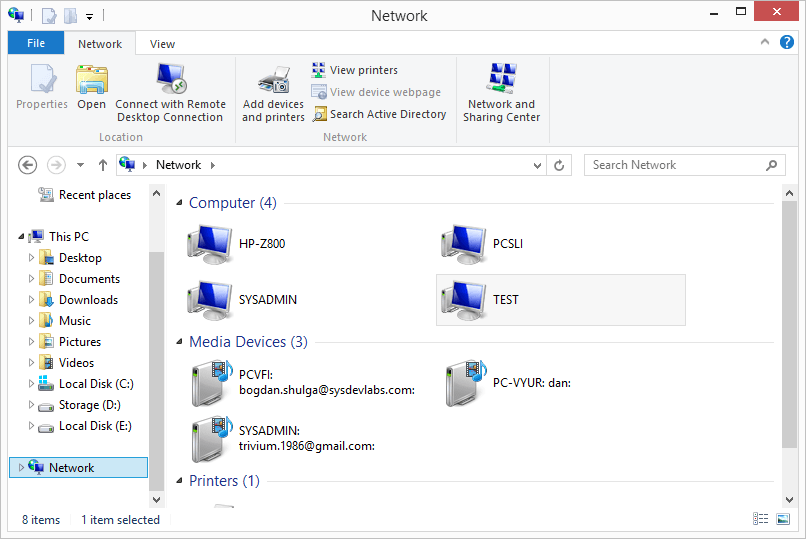
In the operating system, open File Explorer, go to "Network locations" and navigate to the destination network folder.
-
Copy its full path from the address bar.
-
In UFS Explorer, insert the copied path in the address bar of the "Save" dialog and hit "Save".
For macOS
To save the recovered files to a network location, you will need to connect to it using the Finder application.
-
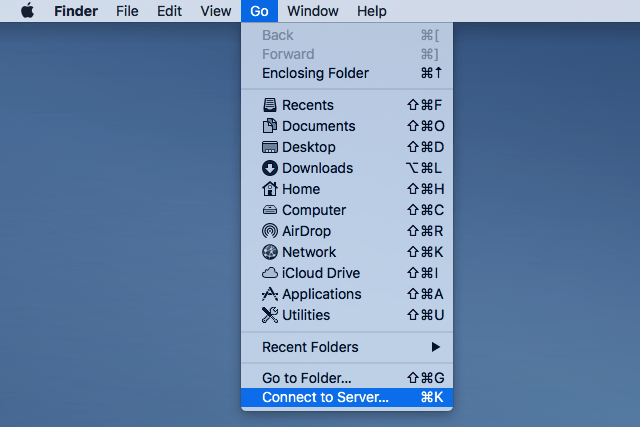
In the main menu of Finder, click "Go" and "Connect to Server" or use the Command+K combination.
-
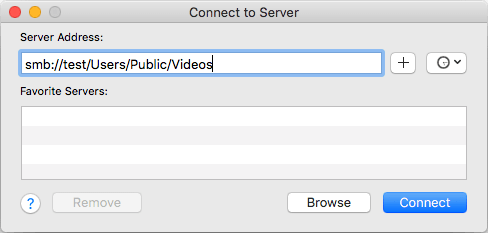
Type in the path of the shared folder. Typically, it is smb://server_name/share_name. As an alternative, go to "Network", then "Servers" and choose the location. After that, click "Connect".
-
If requested, type in your username and password to connect to the shared folder.
-
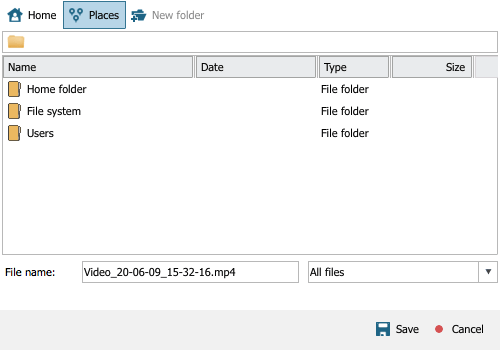
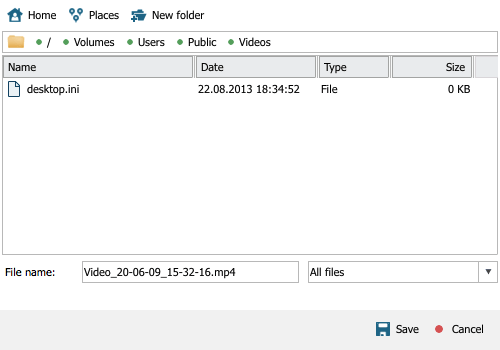
In the "Save" dialog of UFS Explorer click "Places" and select the name of the attached file system. If it is missing from the list, click "File system", then "Volumes", then either the name of the attached file system or your username and then the name of the attached file system.
-
After the file system is opened, select a folder on it to save your data.
For Linux
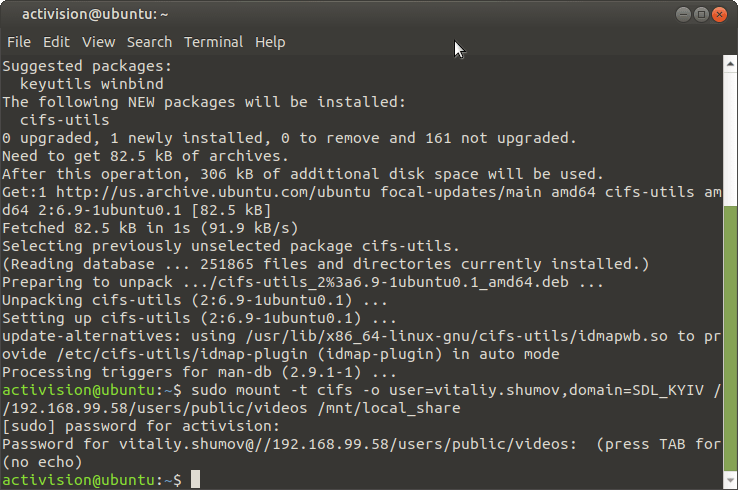
Depending on your system configuration, there are different ways of accessing network shared folders. Yet, the most common method is mounting the folder in the Terminal using the CIFS-utils package.
-
Start the Terminal application.
-
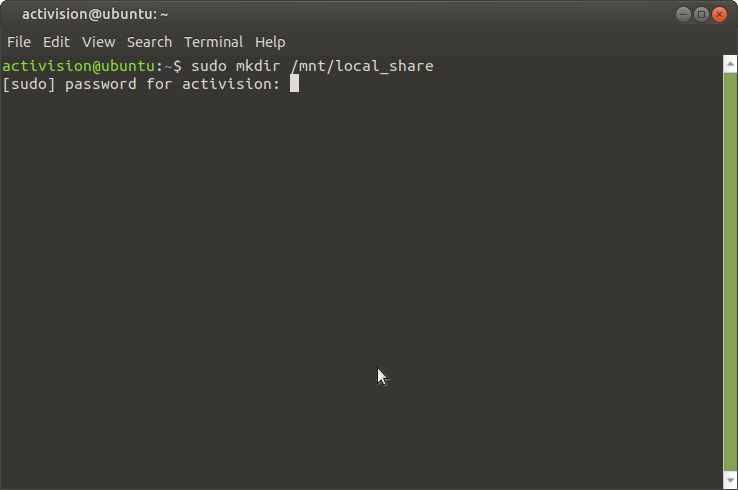
Create a mount point folder or use a standard "/mnt" folder. For example, "sudo mkdir /mnt/share".
-
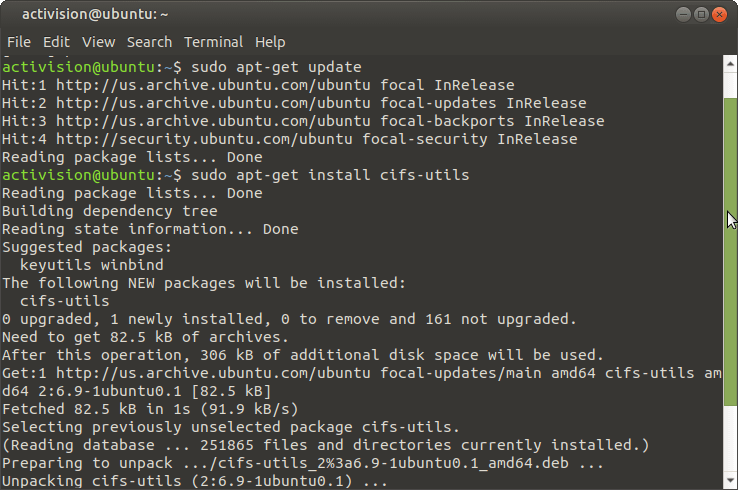
Install the cifs-utils utility, if it is not installed in your system.
-
Type the "mount.cifs //server_name/share_name /mnt -o rw" command to mount the shared folder "share_name" of the server "server_name" to the location "/mnt" in a read-write mode. You may also specify the username and the domain (workgroup) within the arguments of this command (e.g. mount.cifs //server_name/share_name /mnt -o rw,username=jonny,domain=domain_name)/.
-
In the "Save" dialog of UFS Explorer open the location of the mount point (e.g. Places->File system->mnt) and select the target location to save your data.
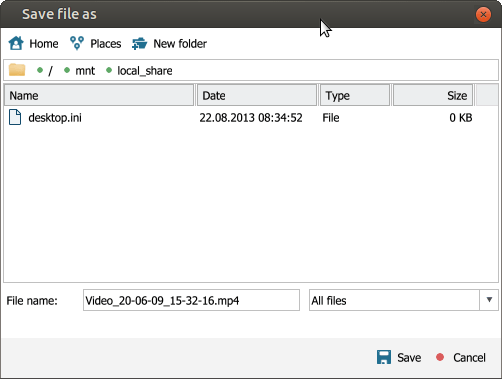
After the described steps are completed, the software will start copying data to the chosen network location.
Last update: August 01, 2022