Converting used file system space to a mask in UFS Explorer
In professional data recovery, it is not always viable to analyze the entire content of a storage medium. Specialists sometimes need to isolate specific data, for example, to focus on what previously existed on the drive or, conversely, work only with the intact file system structure. However, most conventional drive imaging and data recovery tools are unable to differentiate between the space allocated to a certain file system and areas marked as "free" according to its records. As a result, irrelevant data may interfere with the analysis, complicate the recovery process or cause cluttered results.
In contrast to basic tools, the Professional and Technician editions of UFS Explorer have a profound understanding of a file system’s internal logic. They can distinguish between the blocks marked as occupied in the metadata of the current file system and those marked as free, possibly containing recoverable deleted or lost files. This enables the software not only to highlight the areas belonging to an active file system, but also to apply virtual masks that would filter them out during drive imaging or data recovery.
Users can create such masks based on either the used or free space of a selected file system. These masks act as virtual placeholders, defining which parts of the storage should not be accessible during further operations – as if they were defective – without modifying the original content.
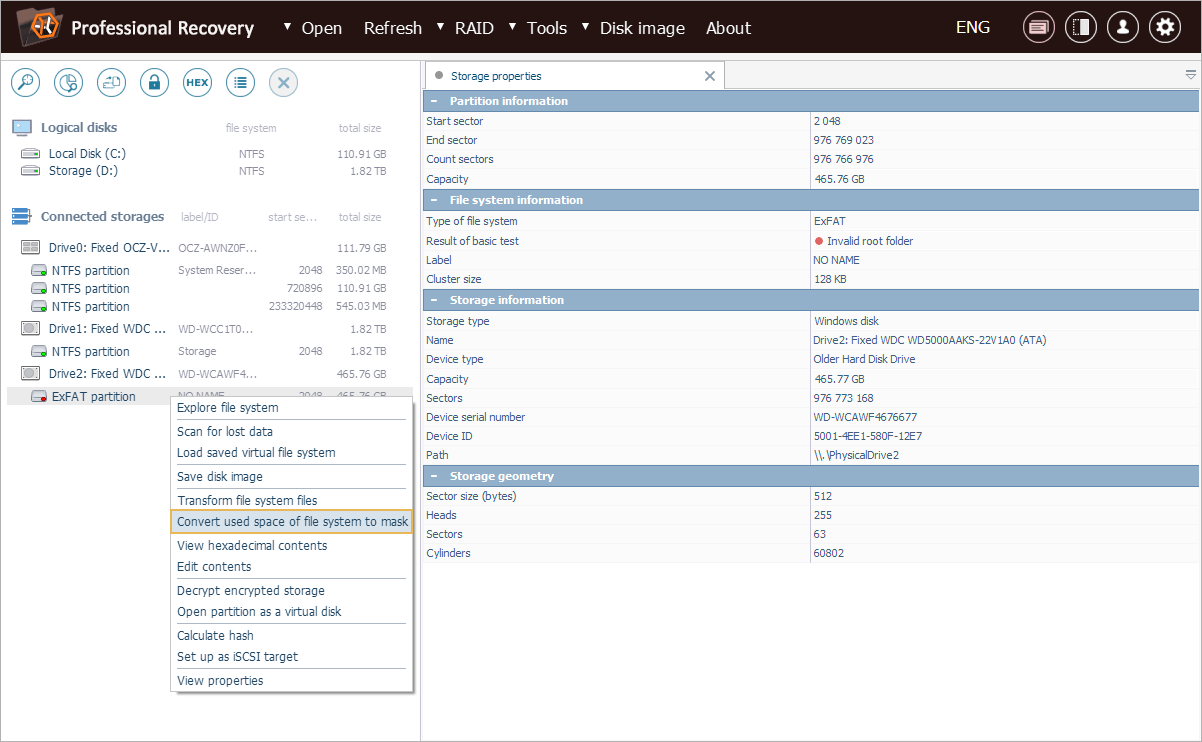
This feature is available through the "Convert used space of file system to a mask" option found in the context menu of a selected partition.

It can also be launched from the Explorer (file browser) component via the context menu of the "Enable indication of used clusters" tool.

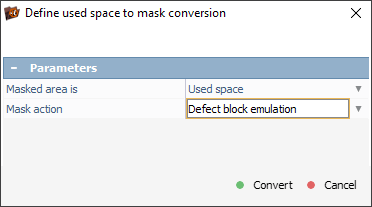
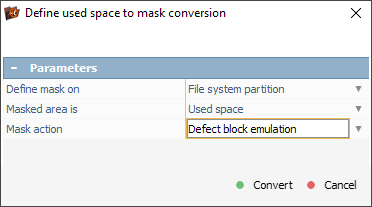
The masked areas can be handled in one of two ways:
-
Defective block emulation: The selected blocks behave like unreadable sectors, so any attempt to read from them results in a read error.
-
Fill with pattern: The masked regions are filled with a predefined pattern – the default "BAD_DATA_IS_HERE" string or a custom one specified by the user.

The masking feature proves particularly useful in situations where the current file system’s data is irrelevant or even obstructive, as illustrated by the following case.
An old client’s hard drive originally stored important documents under the NTFS file system. At some point, this drive became inaccessible, which triggered a formatting request. The storage was subsequently formatted to the exFAT file system. After the format, a number of RAW photos were written to it. These newly added files are of no importance to the client.
The drive is now in an unstable condition, and the priority is to recover the remnants of the original NTFS data before the device potentially fails. To avoid wasting time on imaging the unnecessary exFAT content, our technician decides to exclude the space allocated to the active file system.
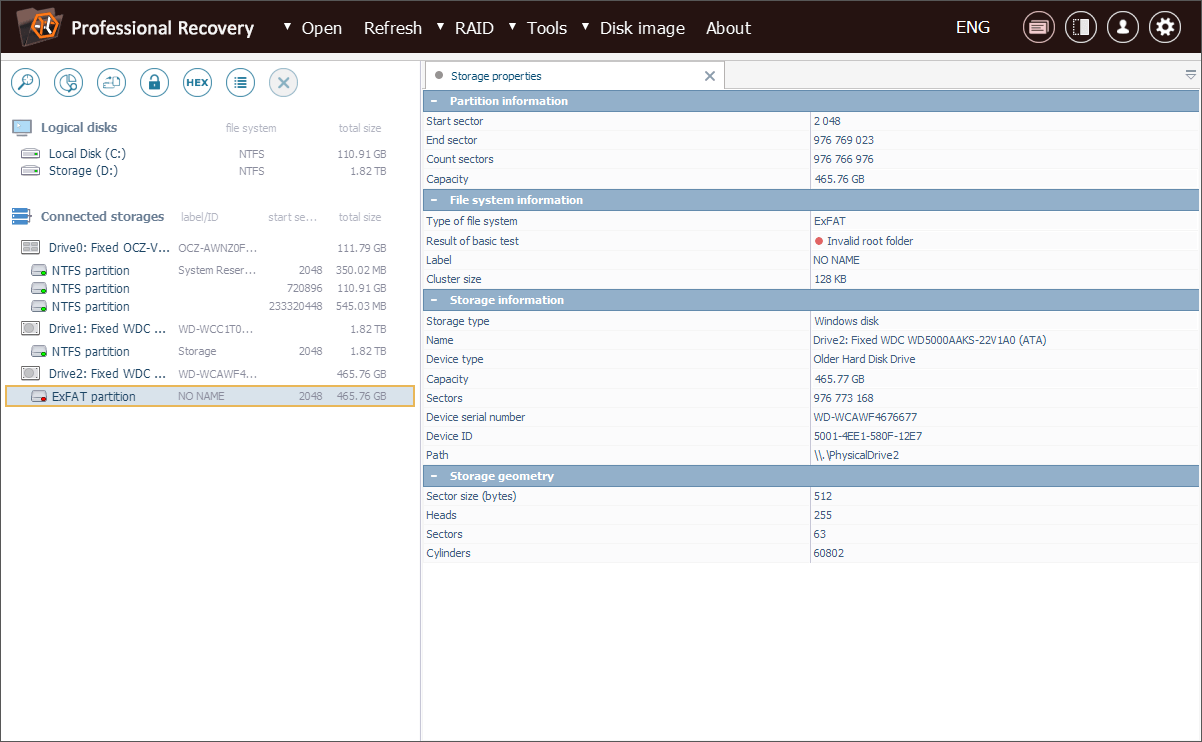
To begin with, we open UFS Explorer and locate the exFAT partition that currently occupies the drive.
From the context menu of this partition, we select the "Convert used space of file system to a mask" option.
In the mask configuration dialog, we choose the "Defect block emulation" mode. This makes the areas used by the exFAT file system behave like unreadable sectors, causing the imaging engine to skip them.
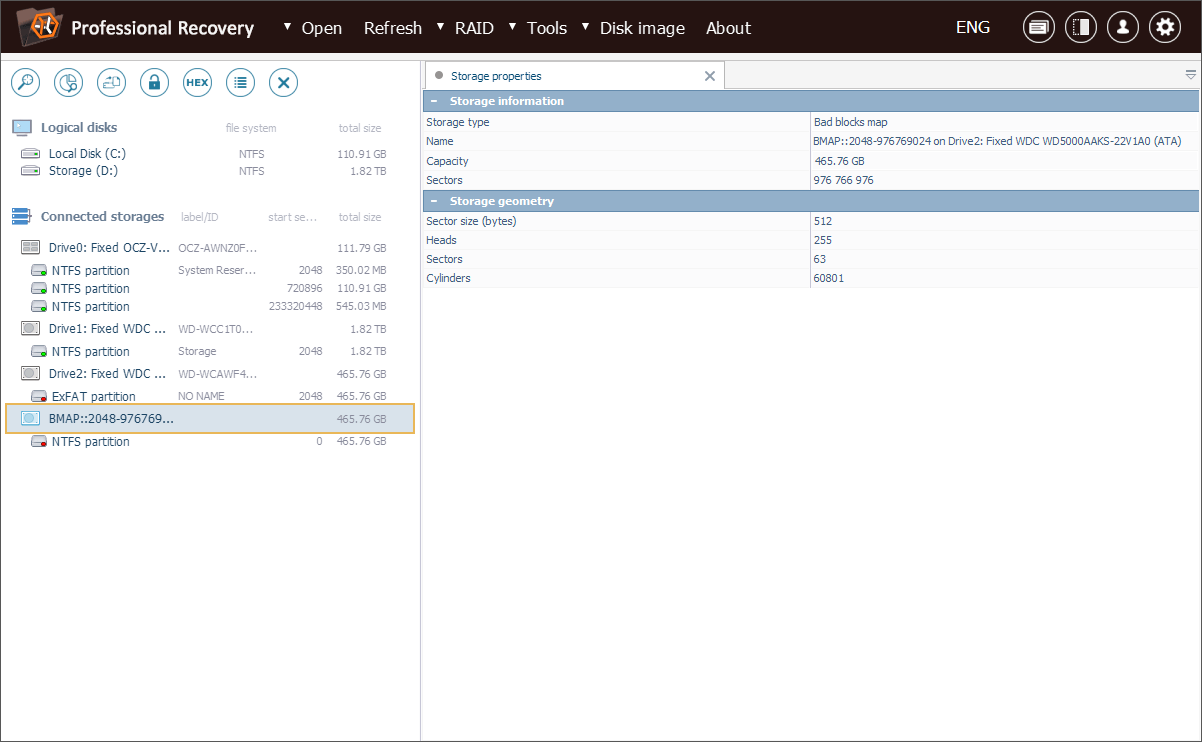
As a result, a new virtual storage with defect emulation is added to the storages navigation pane.
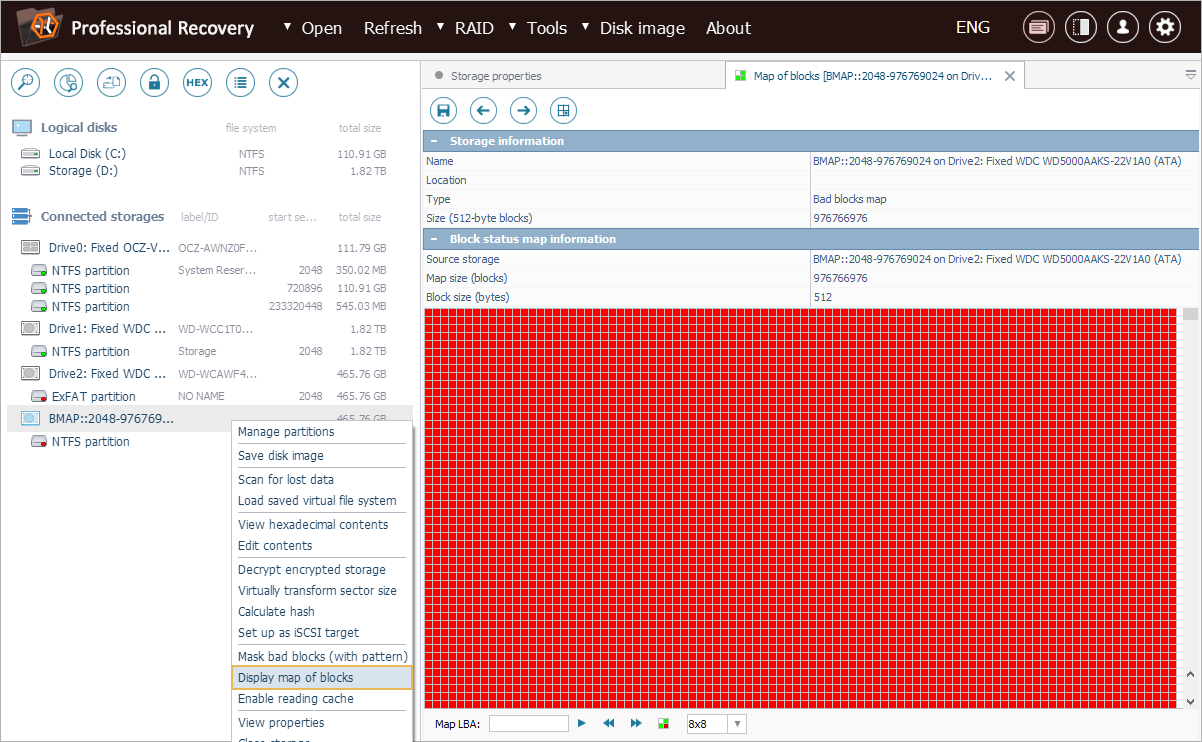
We can view the created mask using the "Display map of blocks" option in the context menu of this storage object. The mask will be shown in a dedicated tab.
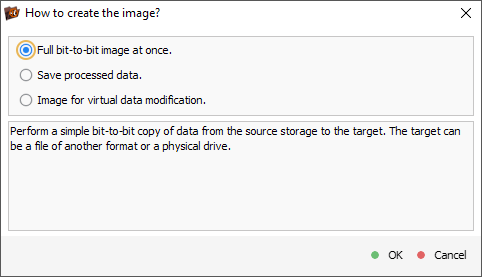
Next, we need to initiate the imaging process for this storage by selecting "Save disk image" from its context menu.

In the imaging task configuration dialog, we choose the "Full bit-to-bit image at once" mode to create a standard raw disk image file.
After that, we specify the parameters required for disk imaging. Detailed guidance on this process can be found in How to create a disk image.

Once the settings are configured, we press the "Start imaging" button.
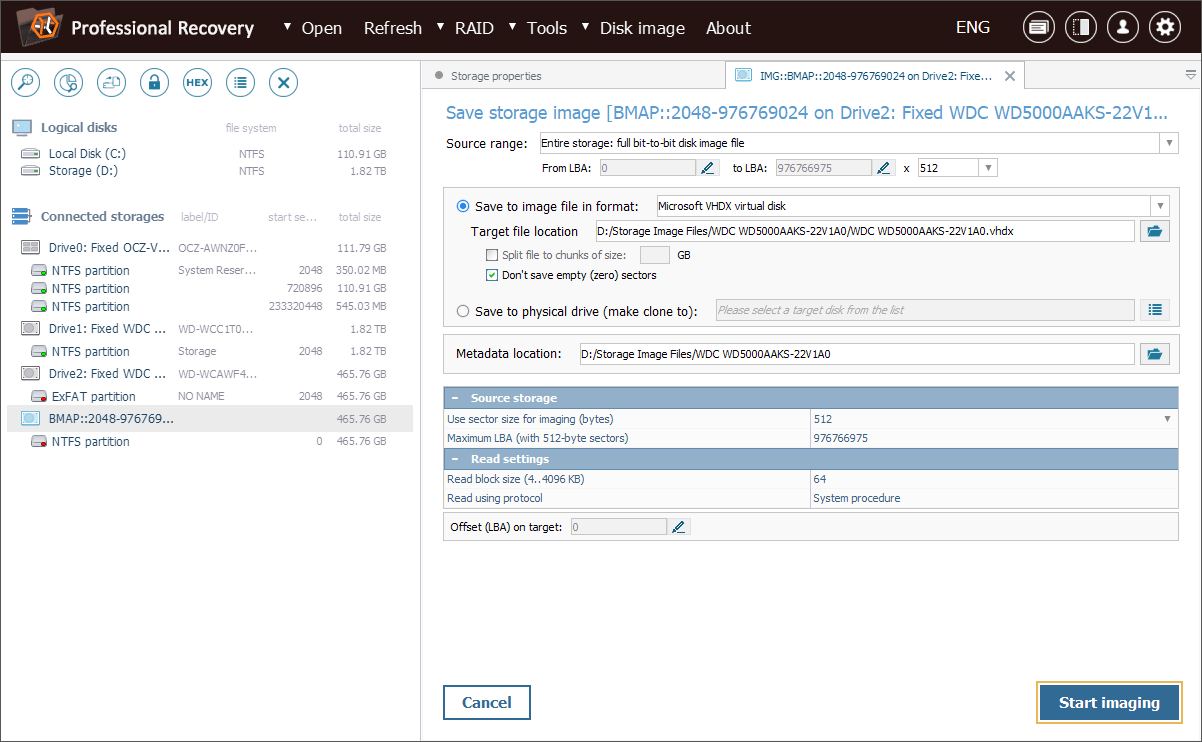
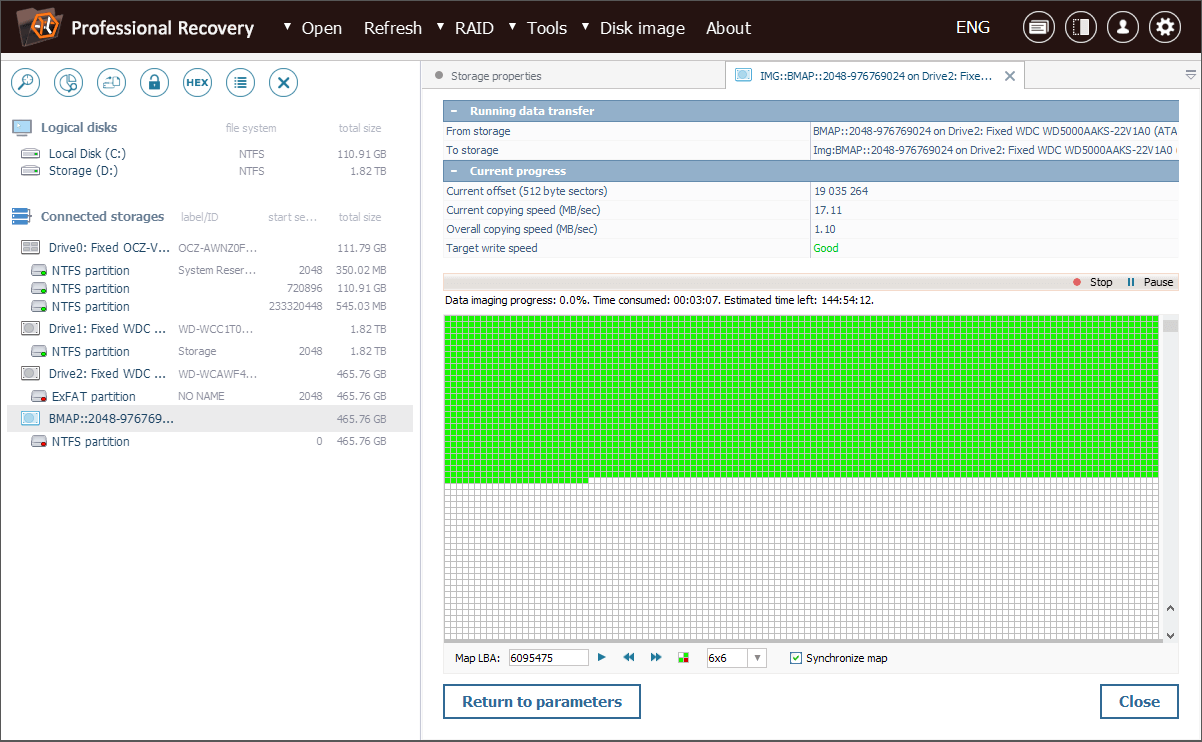
The Disk Imager will now capture only the areas that are not occupied by exFAT – the possible locations of remnants from the previous NTFS file system.
After the image is created, we can open it in UFS Explorer and proceed with the recovery of lost NTFS files, now separated from the irrelevant exFAT structures.

Last update: June 04, 2025