Data recovery from Synology with SSD Cache can now be performed by UFS Explorer
28.07.2022
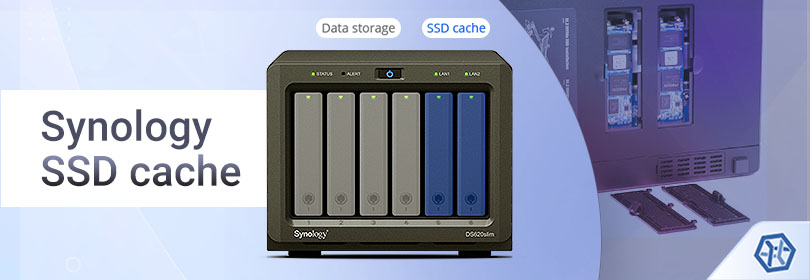
Synology SSD cache provides a great economical way to improve the performance of an HDD-based NAS unit through installing additional 2.5" SSDs in the drive trays or M.2 SSDs in built-in M.2 SSD slots/an optional M.2 SSD adapter card.
Once attached to a volume, SSD cache allows placing the most frequently requested blocks of data on solid-state drives that act like a temporary storage location. Further read operations for this data are performed on SSDs instead of the slower hard drives, which results in increased productivity.
The feature is presented as two options: read-only and read-write. While the read-only cache contains just copies of data from the native Synology volume, the read-write one stores new data that hasn’t been written back to the hard drives yet. In the event of a crash, for example, after malfunction of an SSD or its abrupt removal from a mounted cache, a part of the data residing only on that cache gets lost, or even the entire volume gets corrupted due to the logical errors.
Starting from version 9.3, UFS Explorer makes it possible to recover files from Synology NAS volumes with enabled SSD read-write cache. The software automatically detects the SSD cache partition on the connected SSD drives and allows applying it to the native Synology NAS volume for correct data retrieval.
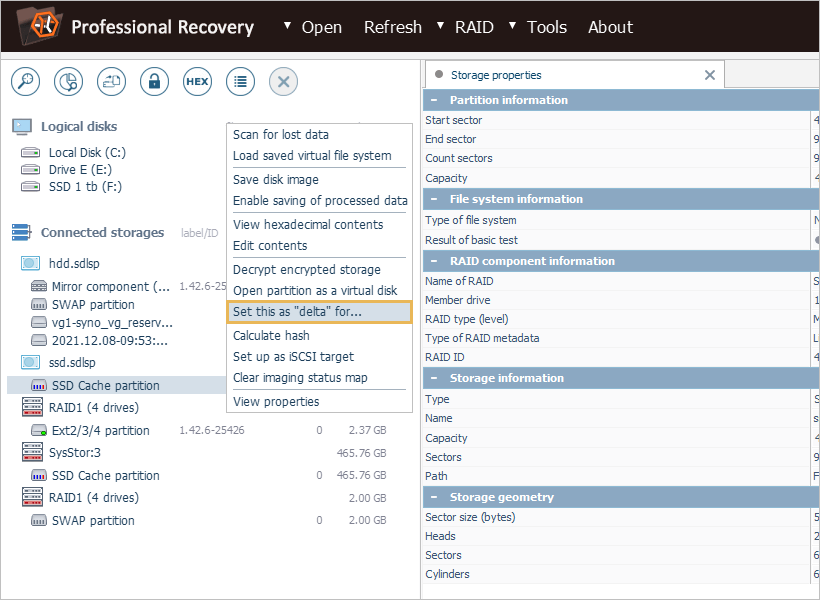
All you have to do is to find the “SSD cache partition” indicated with a service partition icon in the list of attached storages. In case of read-write cache, it will be mounted on a RAID 1, RAID 5 or RAID 6 set.
![]()
After that, set it as “delta” for the corresponding data volume located on the hard disk drive or the reconstructed hard drive array (RAID or SHR), depending on the configuration of your device.
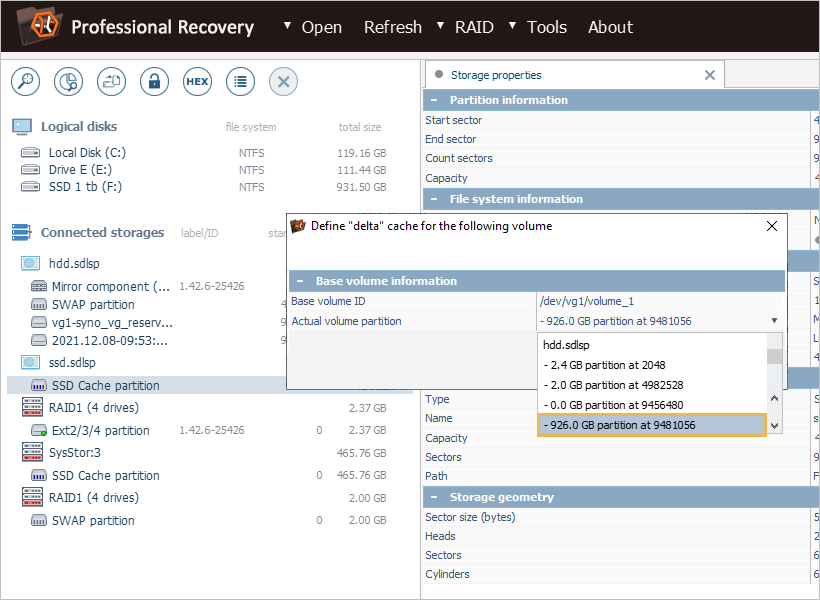
The program automatically finds the base data volume by the LVM volume name. If not, pick it out from the drop-down menu in the opened dialog: this is usually the one with the largest capacity. After you hit the “Define” button, wait until the necessary metadata is loaded.
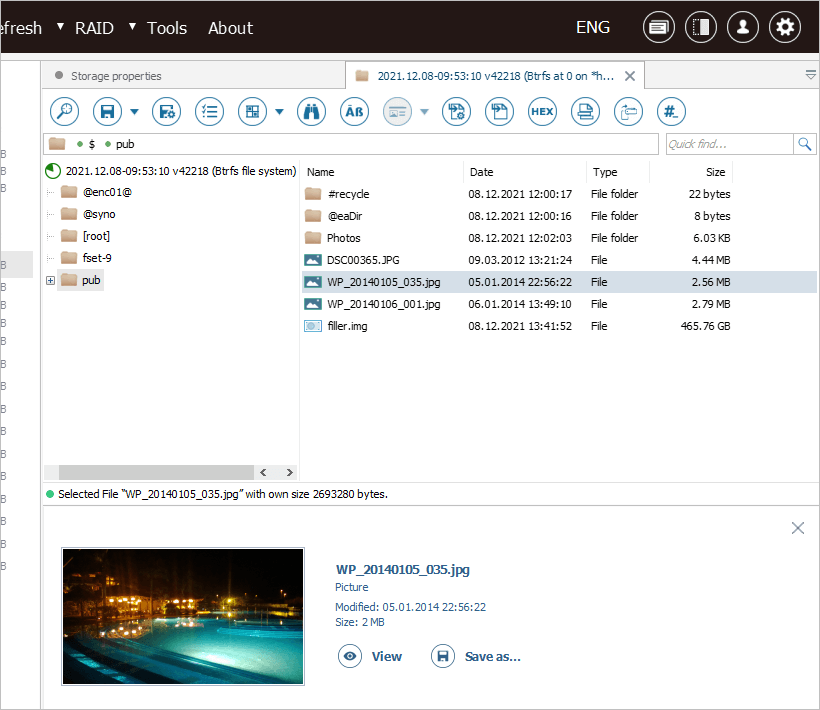
The newly mounted partition will contain the actual user’s folders and files available for access in the software.
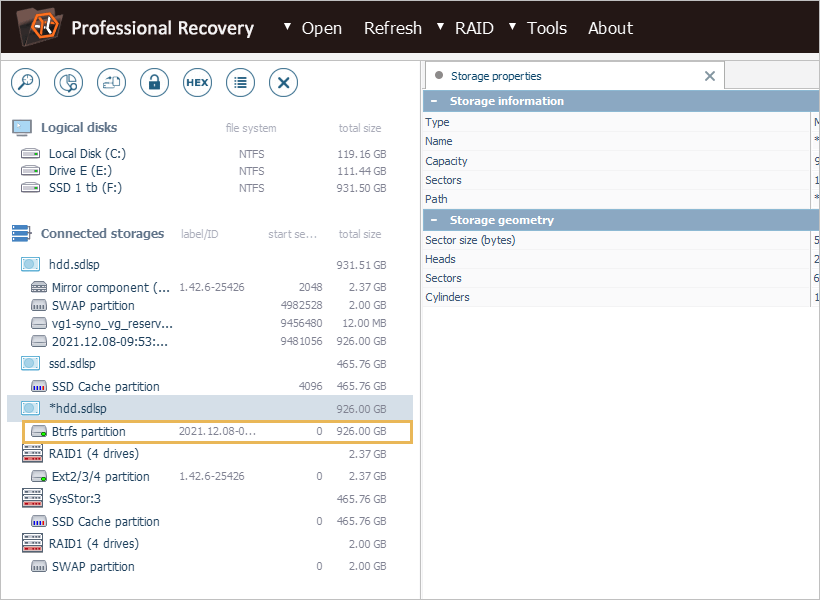
You may browse them to check whether the needed items are present and, if necessary, run a scan for lost data.
As you can see, the updated product opens the door for smooth data recovery from NAS volumes with Synology SSD read-write cache. If you are interested in evaluating this new experimental feature, simply download the latest version of UFS Explorer Professional Recovery for your operating system. Its support has also been implemented in another utility – Recovery Explorer Professional.
The list of Synology models that can use SSD cache is available on the Synology website.