How to recover data from Microsoft Storage Spaces
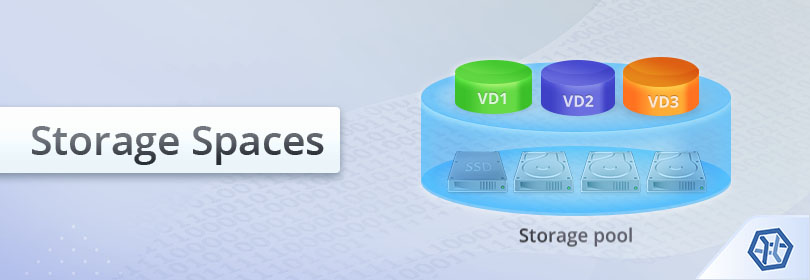
Windows and Windows Server operating systems of Microsoft come with a great variety of data protection possibilities among which is a proprietary software-based RAID technology called Storage Spaces. Similar to RAID, the feature is used to preserve the data in case of failure of a single member disk, or even two disks, depending on the configuration. Yet, unfortunately, data loss problems users of these systems face are not always related to drive issues: software crashes, incorrect pool configurations, damaged metadata, unintentional formatting/deletion etc. result in the need to extract or restore files from a certain virtual Storage Space or even the whole Storage Pool.
Hint: All the basic concepts related to RAID are explained in the peculiarities of data organization on RAID.
To get the lost information back, one may use UFS Explorer RAID Recovery and the following guide, which will be of great assistance in rescuing data from faulty Storage Spaces.
- Connect the components of your Microsoft Storage Spaces to the computer.
Attach all the available member drives to the PC. The maximum number of missing disks is determined by the type of Storage Spaces: simple spaces require all the drives to be present, two-way mirror spaces and parity spaces can compensate for the lack of a single drive while three-way mirror spaces are able to withstand the concurrent failure of two drives. If more disks than allowed by the storage configuration are absent, the files may turn out to be damaged or inaccessible due to the lack of redundancy information.
Hint: You can plug the drives into the motherboard of your PC or сonnect the disks externally using a USB to SATA/IDE adapter.
- Install UFS Explorer RAID Recovery and launch the software.
Run the application with elevated privileges and if necessary, adjust its settings. All the connected storages will appear in the left pane of the main screen with their logical volumes located below them.
Hint: If you have any difficulties with the installation of the utility, please refer to the installation manual for UFS Explorer RAID Recovery.
- Choose the needed Storage Spaces volume, automatically assembled by the application.
The program automatically reconstructs the storage by assembling the available constituents, you will just have to explore the list and find the necessary MSSS::Virtual Disk. As a rule, it will contain an MS Reserved partition and an NTFS or ReFS partition.
- Open its file system to check the integrity of data.
Select an NTFS/ReFS partition mounted on the storage and check its content. You may try opening images or text files: if they are good, their preview will appear in the embedded viewer.
- Scan the storage to find the missing files (folders).
To recover deleted or lost files you will need to run a storage scan. For this choose the corresponding instrument from the toolbar, disable all file systems except NTFS/ReFS and click “Start scan”.
- Choose the recovered items you need and copy them to a safe storage location.
After the process is completed, you can look into the content of the reconstructed file system and find the wanted folders and files. After that, press “Define selection”, check them off and press “Save selection”. In the opened window provide any valid destination folder which should not be located on one of the source drives.
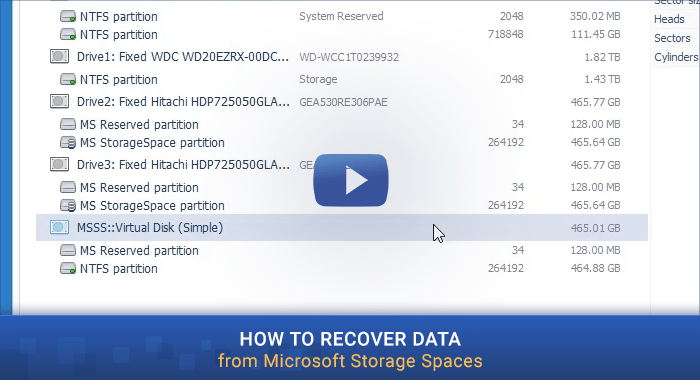
The overall procedure is also shown in the following video:
Last update: August 05, 2022